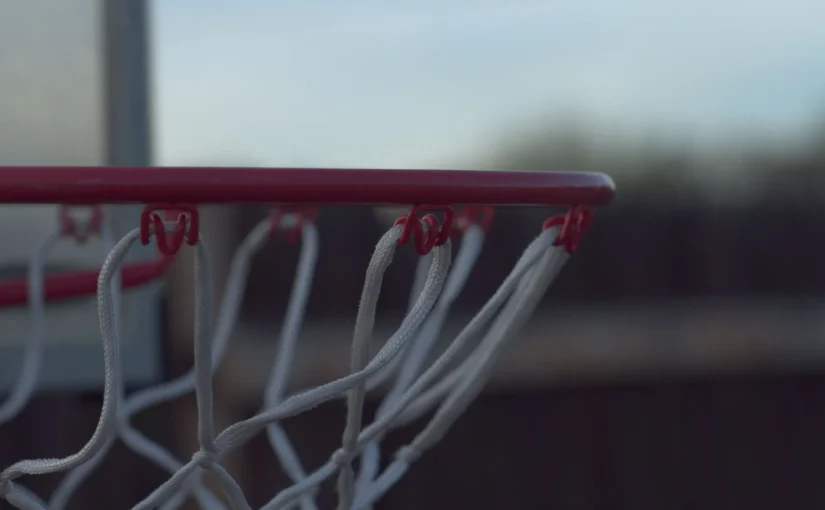
Learning how to put a net on a basketball hoop is straightforward once you know how the net attaches.
Most standard basketball nets fit onto hooks underneath the rim. You can usually install them by hand, although some hoops use different attachment systems.

What You Need to Install a Basketball Net
You’ll need a replacement basketball net that fits your rim. Check the attachment system and number of upper loops before starting.
If the rim is out of reach, lower an adjustable hoop using its intended mechanism or arrange suitable, stable access equipment. Never climb or lean on the basketball hoop.
How to Put a Net on a Basketball Hoop: 7 Steps
These instructions cover a standard basketball rim with exposed hooks.
Step 1: Check the rim and net.
Inspect the hooks for damage. Make sure your replacement net is compatible with the rim.
Step 2: Prepare the hoop.
Clear the area and check that the hoop is stable. If it’s portable, make sure the base is properly weighted.
Step 3: Remove the old net.
Carefully release the old net’s upper loops from the hooks. Remove any leftover cord before installing the replacement.
Step 4: Find the upper loops.
Hold the new net with its longer attachment loops at the top. Straighten any twisted strands.
Step 5: Attach the first loop.
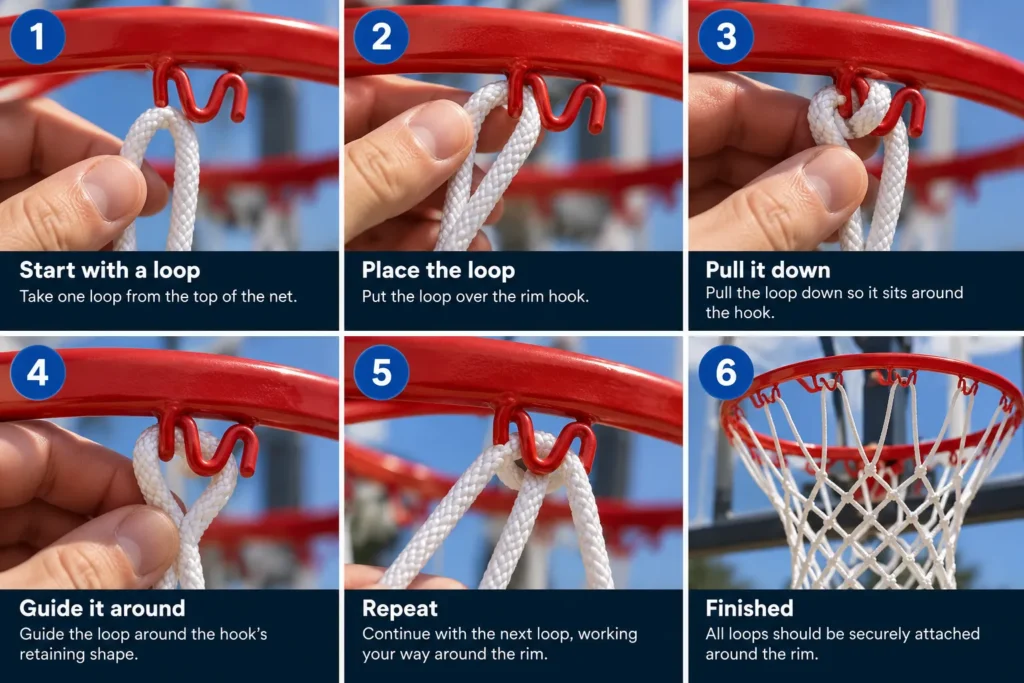
Pinch an upper loop and feed it through the first rim hook. Guide it around the hook’s retaining shape, then gently pull it down until seated.
Step 6: Attach the remaining loops.
Work around the rim, matching each upper loop to the next hook. Avoid crossing loops or skipping attachment points.
Step 7: Check the installation.
Check that every loop is properly seated and the net hangs freely. Remove any access equipment before playing.
How to Install a Basketball Net Without Hooks
Some basketball hoops use concealed rings, cables, clips, or continuous net locks instead of traditional hooks.
Identify your rim’s attachment system and follow the manufacturer’s instructions. Avoid cable ties, wire, or other improvised attachments.
How to Put a Chain Net on a Basketball Hoop
Chain basketball nets use metal connectors that must fit the rim’s attachment points.
Follow the chain net’s instructions to secure each connector. Some designs require pliers to close their hooks.
Never bend the rim’s permanent hooks to force a chain net into place.
Common Basketball Net Installation Problems
| Problem | What to Check |
|---|---|
| Net keeps falling off | Check for loose loops, damaged hooks, or an incorrect fit. |
| Net hangs unevenly | Look for skipped hooks or crossed upper loops. |
| Net doesn’t fit | Check the rim size, loop count, and attachment system. |
| Net gets tangled | Release the affected loops, untwist the net, and reattach them. |
If a rim hook is broken or missing, stop and obtain appropriate replacement parts or professional assistance.
Frequently Asked Questions
Can You Install a Basketball Net Without Tools?
Yes. Standard cord nets often attach by hand. Chain nets and specialist attachment systems may require tools.
How Long Does It Take to Install a Basketball Net?
A simple replacement may take around 10 minutes. Removing an old net or arranging safe access can take longer.
Can You Replace a Net Without Removing the Rim?
Yes. With conventional rim hooks, you can normally replace the net without removing the rim from the backboard.
Do All Basketball Nets Fit Every Hoop?
No. Check the attachment system, net size, and number of loops. Mini hoops and specialist rims may require specific nets.
Final Thoughts
Installing a basketball net is mostly about choosing a compatible replacement and securing each upper loop correctly.
Once it’s installed, discover why basketball hoops have nets and how they help during play.
One thought on “How to Put a Net on a Basketball Hoop (7 Easy Steps)”
Comments are closed.