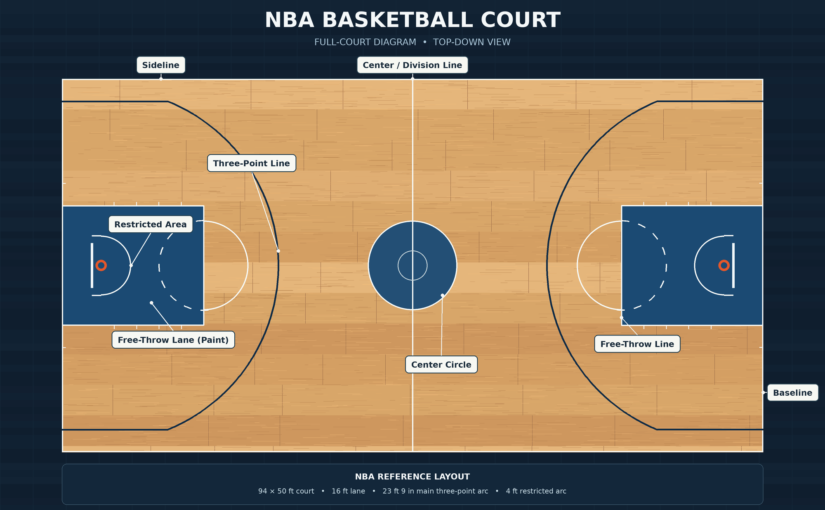
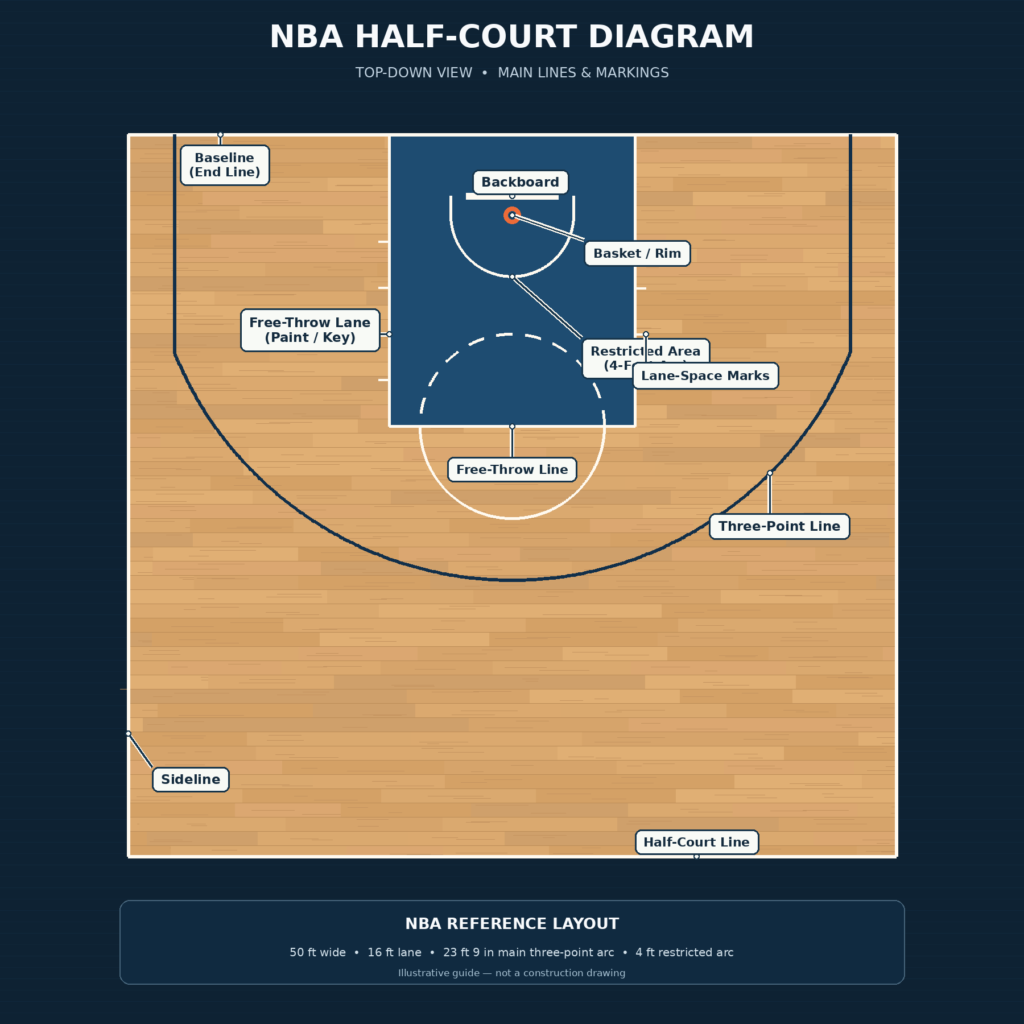
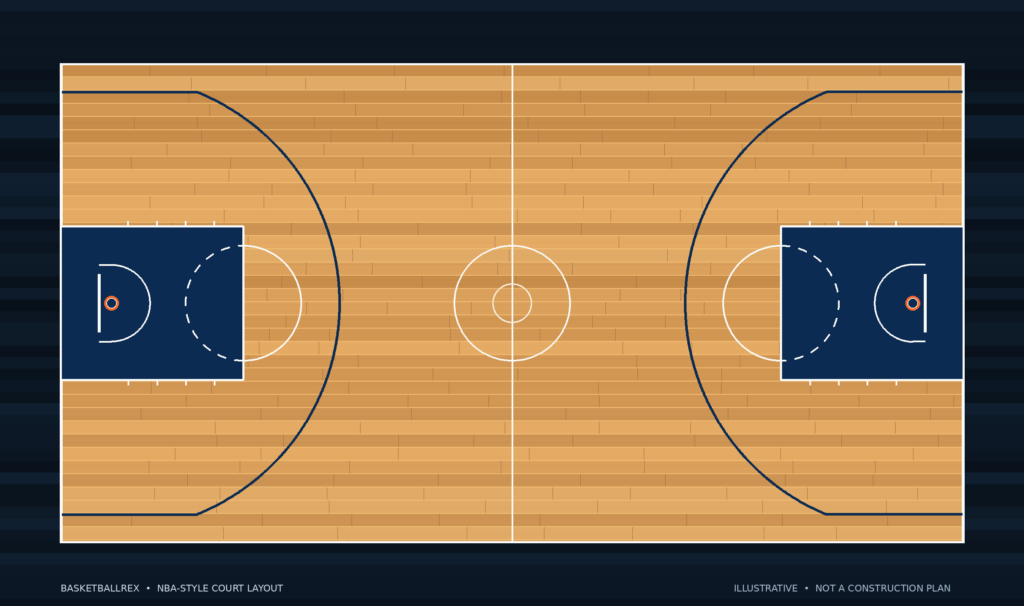
How much does it cost to build a basketball court? Prices depend on the court’s size, surface, location, and whether you’re using existing pavement or building from scratch.
For a compact backyard basketball court built from bare ground, a reasonable starting budget is $10,000–$25,000+. The final price depends on the court size, surface material, site preparation, labor, and extra equipment.
Here is a comparison of basketball court construction costs in the United States for 2026.
| Basketball court project |
Estimated cost |
Price scope |
| Driveway shooting setup |
$200–$2,350 |
Hoop and basic lines on existing pavement |
| Modular tiles on an existing hard surface |
$1,800–$5,000+ |
Retail tile kits; excludes hoop and base repairs |
| Compact backyard court (900–1,200 sq ft) |
$10,000–$25,000+ |
Planning budget for new construction |
| Residential half court |
$18,000–$32,000 |
Published installation-service estimate |
| NBA-sized half-court footprint (47 × 50 ft) |
$15,000–$30,000 |
Regional contractor estimate |
| Full outdoor court (94 × 50 ft) |
$35,000–$75,000+ |
Regional contractor estimate |
| Premium full outdoor court |
$85,000–$115,000 |
Post-tension concrete construction |
These are not national averages. The driveway figure is a calculation, the compact-court figure is a planning estimate, and the larger project figures come from published service or contractor estimates. Different locations, specifications, and inclusions explain why some ranges overlap.
Sources: HomeGuide, Sport Court, USA Sports Courts, and Barton Sports Construction.
Basketball Court Construction Costs by Size
The amount of playing space you need is one of the biggest factors in your project cost.
However, a small court built on difficult ground can cost more than a larger court with easier site conditions.
If you’re deciding how much space to use at home, our backyard basketball court guide covers different court sizes, layouts, and surface options.
Driveway Basketball Setup
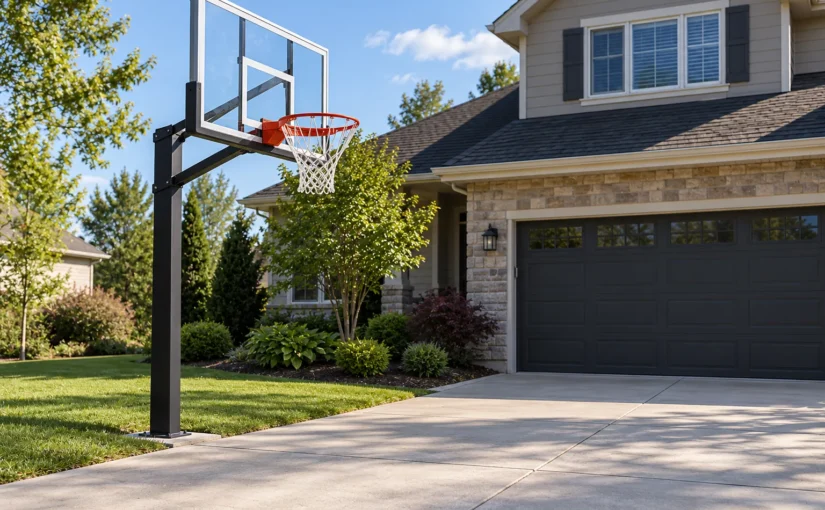
If you already have a driveway with suitable pavement, installing a basketball hoop and adding basic court markings may be enough.
HomeGuide lists installed hoops at $150–$2,000 and line painting at $50–$350. Combined, these add up to $200–$2,350.
This excludes driveway repairs, resurfacing, and other improvements.
For casual shooting practice, an existing driveway is usually the cheapest starting point.
Compact Backyard Basketball Court
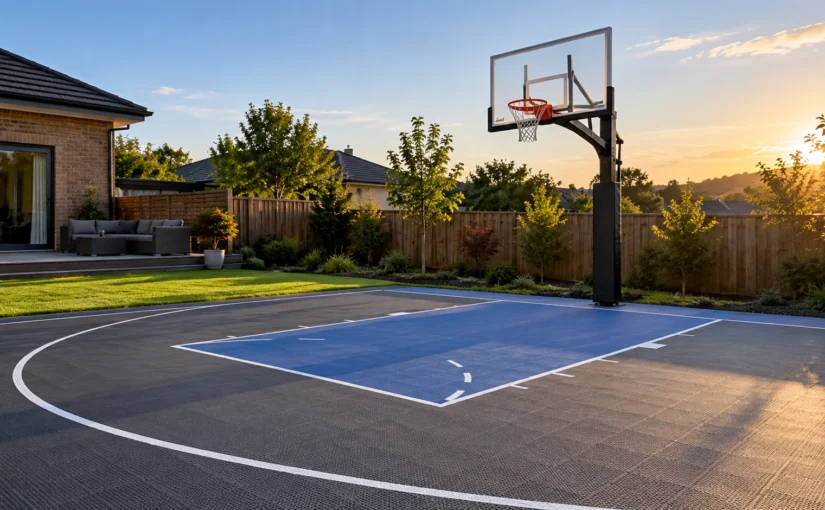
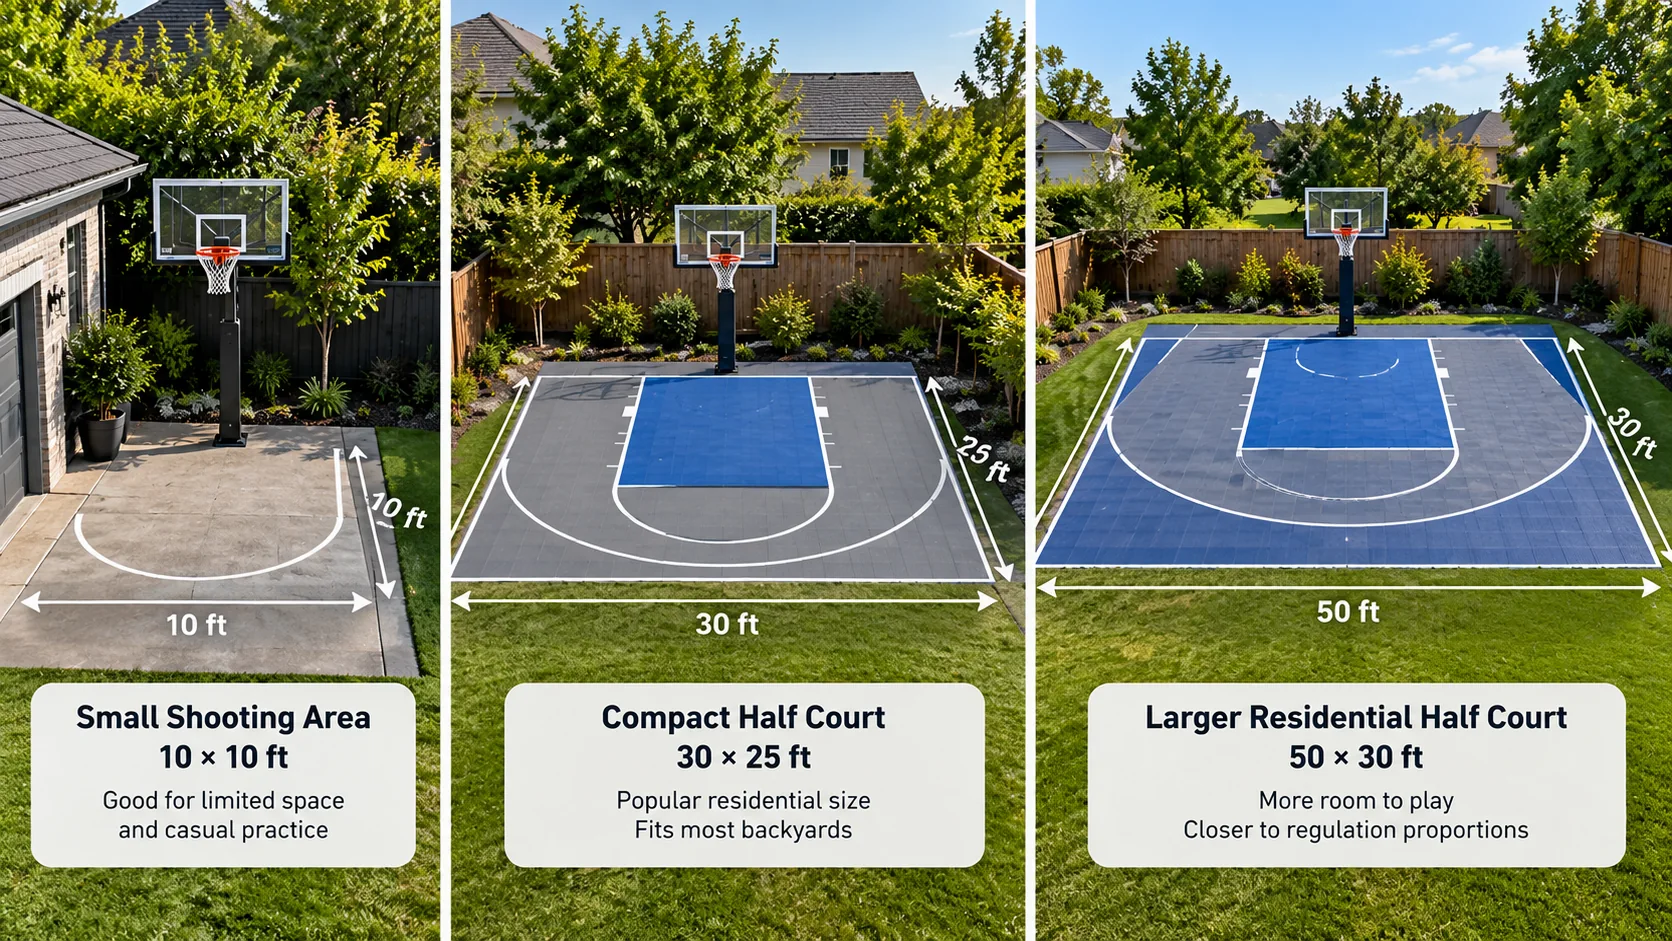
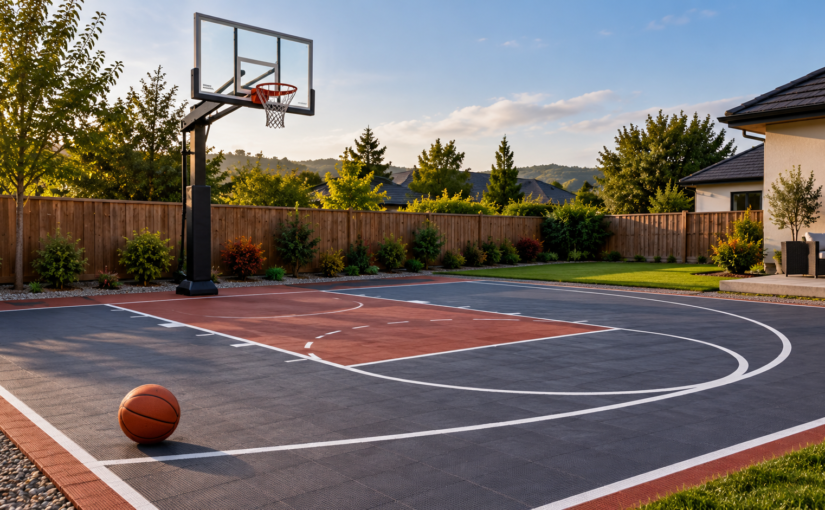
A compact backyard court might measure 30 × 30 feet or 30 × 40 feet, providing 900–1,200 square feet.
For construction from bare ground, budget roughly $10,000–$25,000+, depending on groundwork and materials.
This is a planning estimate, not a national average. Sport Court reports that some small professionally built shooting courts have started at approximately $10,000.
Compact courts can work well for shooting, dribbling, and one-on-one basketball without requiring regulation dimensions.
Residential Half Court
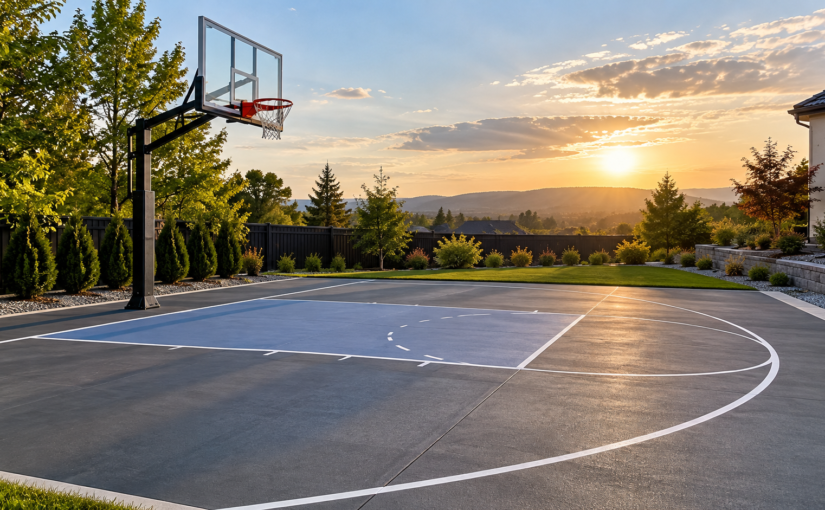
A common residential half-court layout is 30 × 50 feet, or 1,500 square feet.
USA Sports Courts describes that size as a residential half-court option and separately publishes a $18,000–$32,000 estimate for half-court installation.
Its service covers projects from bare ground to a finished court, including base preparation, markings, and hoop installation. However, the published price is a general half-court estimate, not a guaranteed quote for every 30 × 50-foot build.
NBA-Sized Half Court
Half of a standard NBA playing area measures 47 × 50 feet, giving it 2,350 square feet.
Barton Sports Construction lists $15,000–$30,000 for this layout in its Mid-South service region. That estimate includes grading, a concrete base, acrylic coating, court markings, and a hoop.
Its price overlaps with the smaller residential estimate above because they come from different providers and locations.
Full Basketball Court
A standard NBA basketball court measures 94 × 50 feet, or 4,700 square feet. A typical U.S. high school court is smaller at 84 × 50 feet.
Barton estimates $35,000–$75,000+ for a standard full outdoor court and $85,000–$115,000 for a premium post-tension concrete version.
These are regional estimates. Difficult ground conditions, fencing, lighting, and other specifications can increase the final price.
See our basketball court dimensions guide for a closer look at different court sizes.
What Affects Basketball Court Construction Costs?
Two courts with the same playing dimensions can have very different budgets.
Court Size and Available Space
A larger court generally needs more paving, flooring, and line painting.
However, playing area and total construction area are not always the same.
You may need additional space behind the hoops, outside the sidelines, and around fencing or drainage systems. That extra area can increase the amount of paving required.
Our basketball court diagram shows how the main lines and markings fit within a court layout.
Site Preparation and Drainage
Building on level, accessible ground is usually easier than working on a steep or uneven backyard.
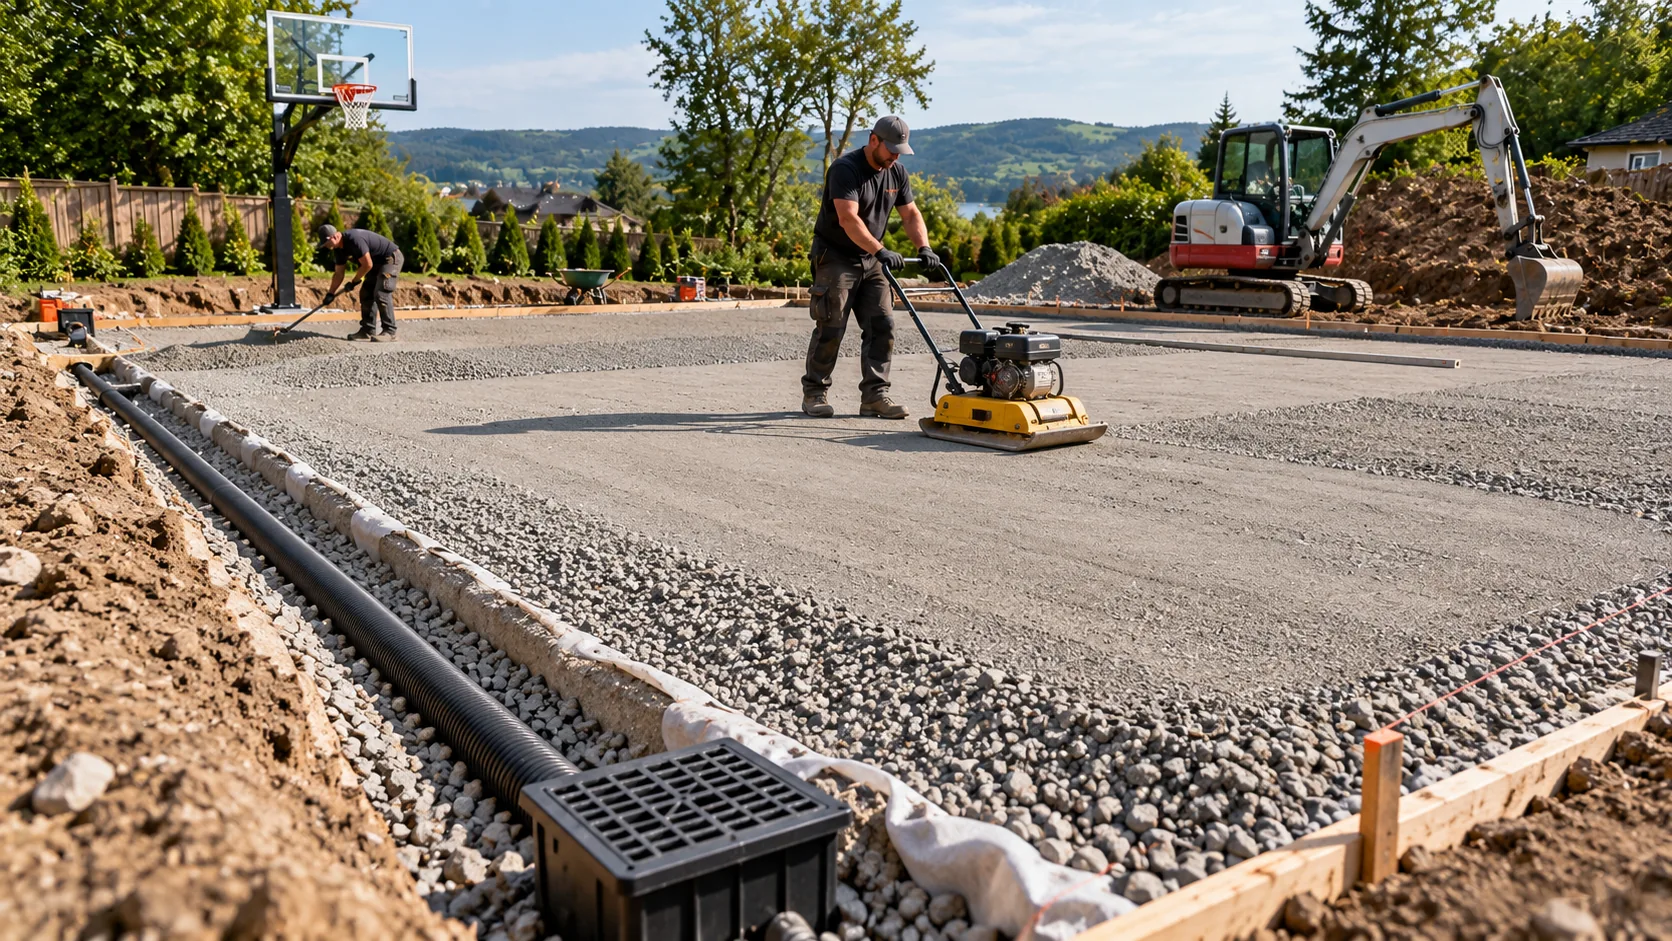
Site preparation may involve clearing vegetation, removing soil, grading, and compacting the ground.
Outdoor courts also need effective drainage to prevent standing water and premature surface damage.
HomeGuide provides a broad $1,000–$4,000 drainage allowance, although complex sites can require more extensive work.
Location and Labor
Labor rates, contractor availability, equipment access, local regulations, and soil conditions vary by location.
A contractor’s published estimate may therefore be useful for planning without reflecting the actual cost in your area.
For projects outside the United States, use these dollar amounts as a budgeting reference and obtain local quotes in your own currency.
To understand what professional installation involves before requesting quotes, read our basketball court installation guide.
Basketball Court Surface Costs
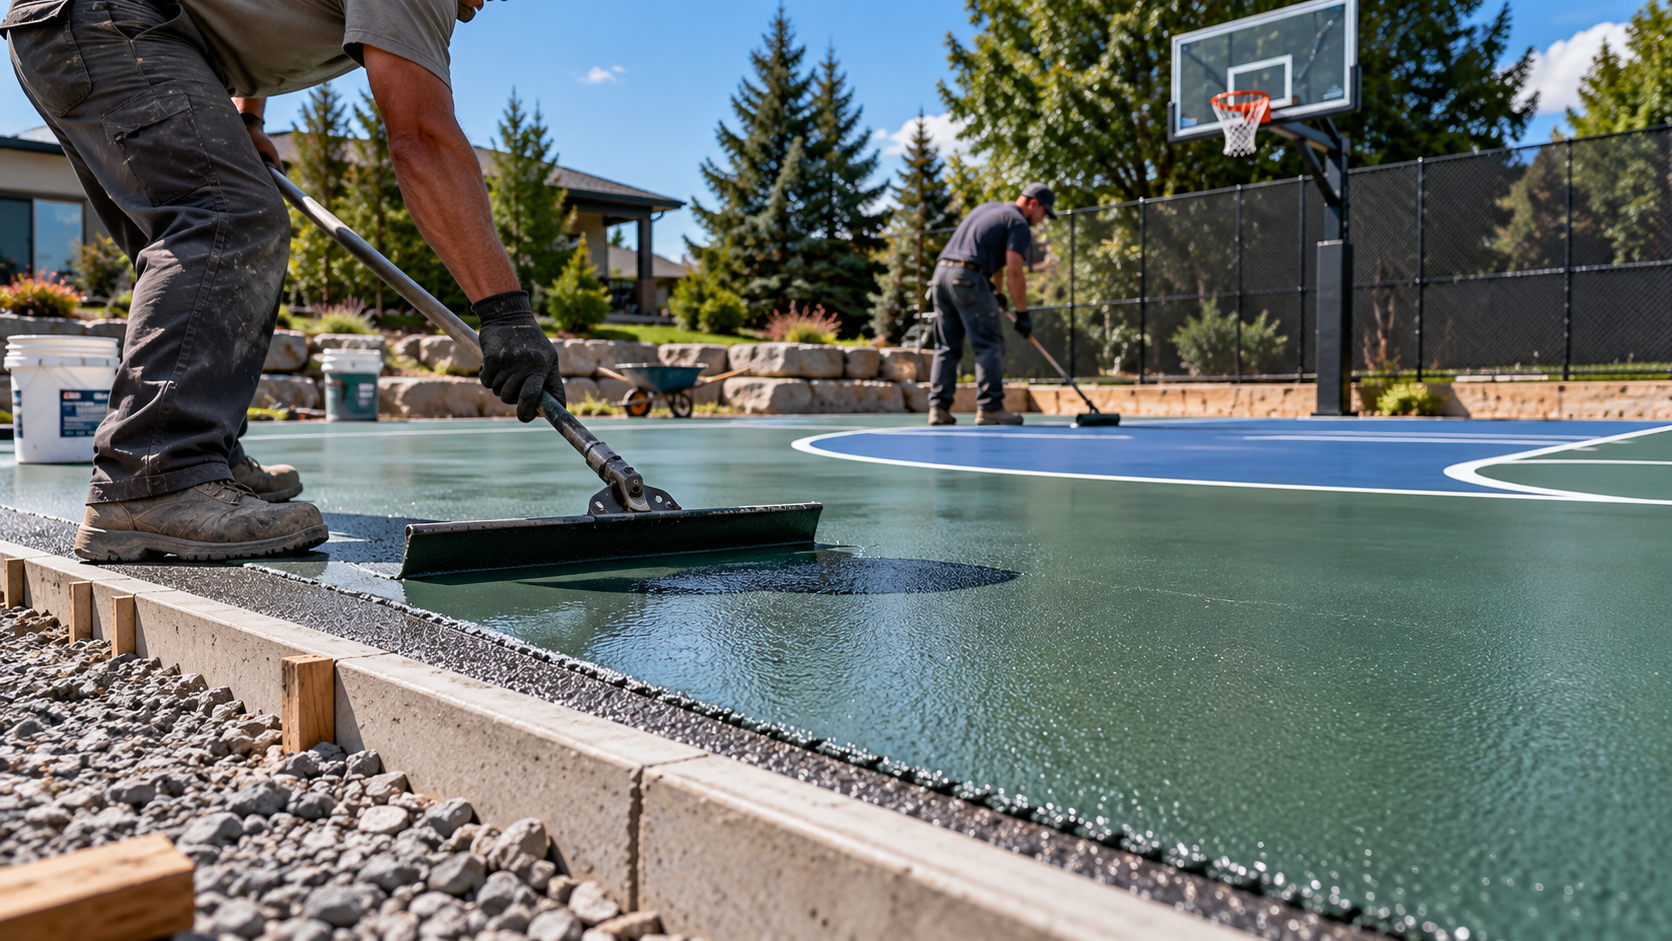
Your choice of surface affects construction costs, maintenance, and how the court feels during play.
But be careful: the cost of flooring is not necessarily the cost of a completed basketball court.
| Court surface |
Estimated cost |
What the estimate covers |
| Concrete slab |
$6–$12 per sq ft |
Standard installed slab |
| Asphalt paving |
$5–$12+ per sq ft |
General installed paving |
| Acrylic resurfacing |
$3–$6 per sq ft |
Finish applied to a suitable existing base |
| Modular tile kits |
Roughly $3–$4 per sq ft |
Selected retail kits, before base and extras |
| Indoor hardwood sports floor |
$12–$26 per sq ft |
Installed hardwood sports-floor system |
These figures describe different construction layers, not five complete-court alternatives.
Concrete
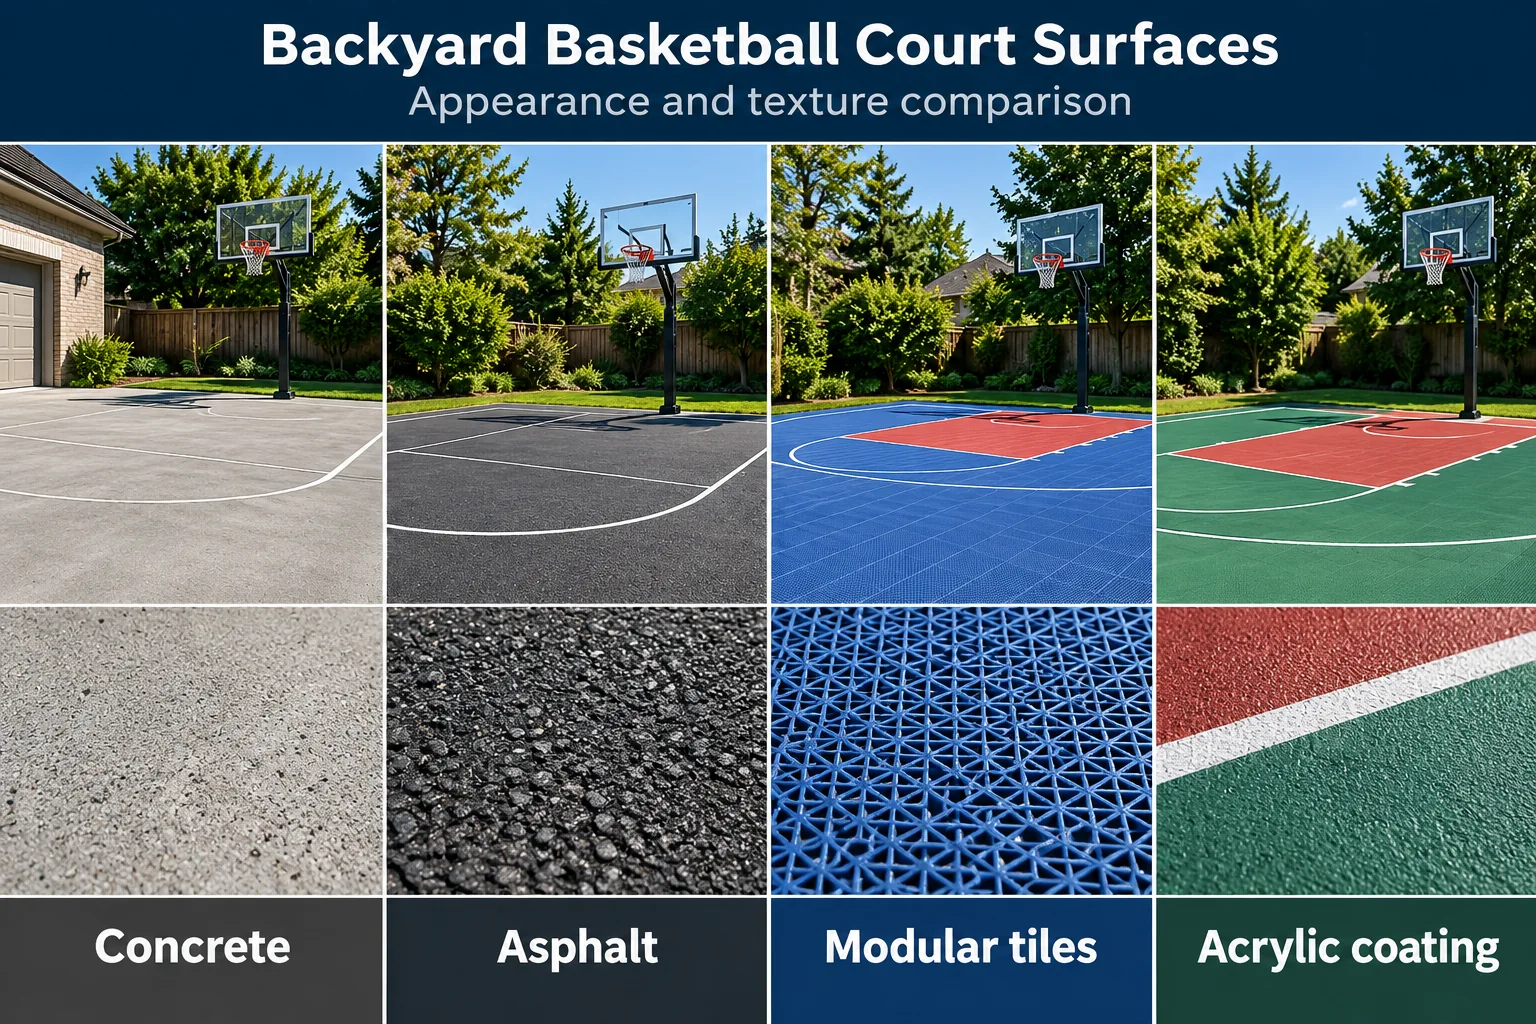
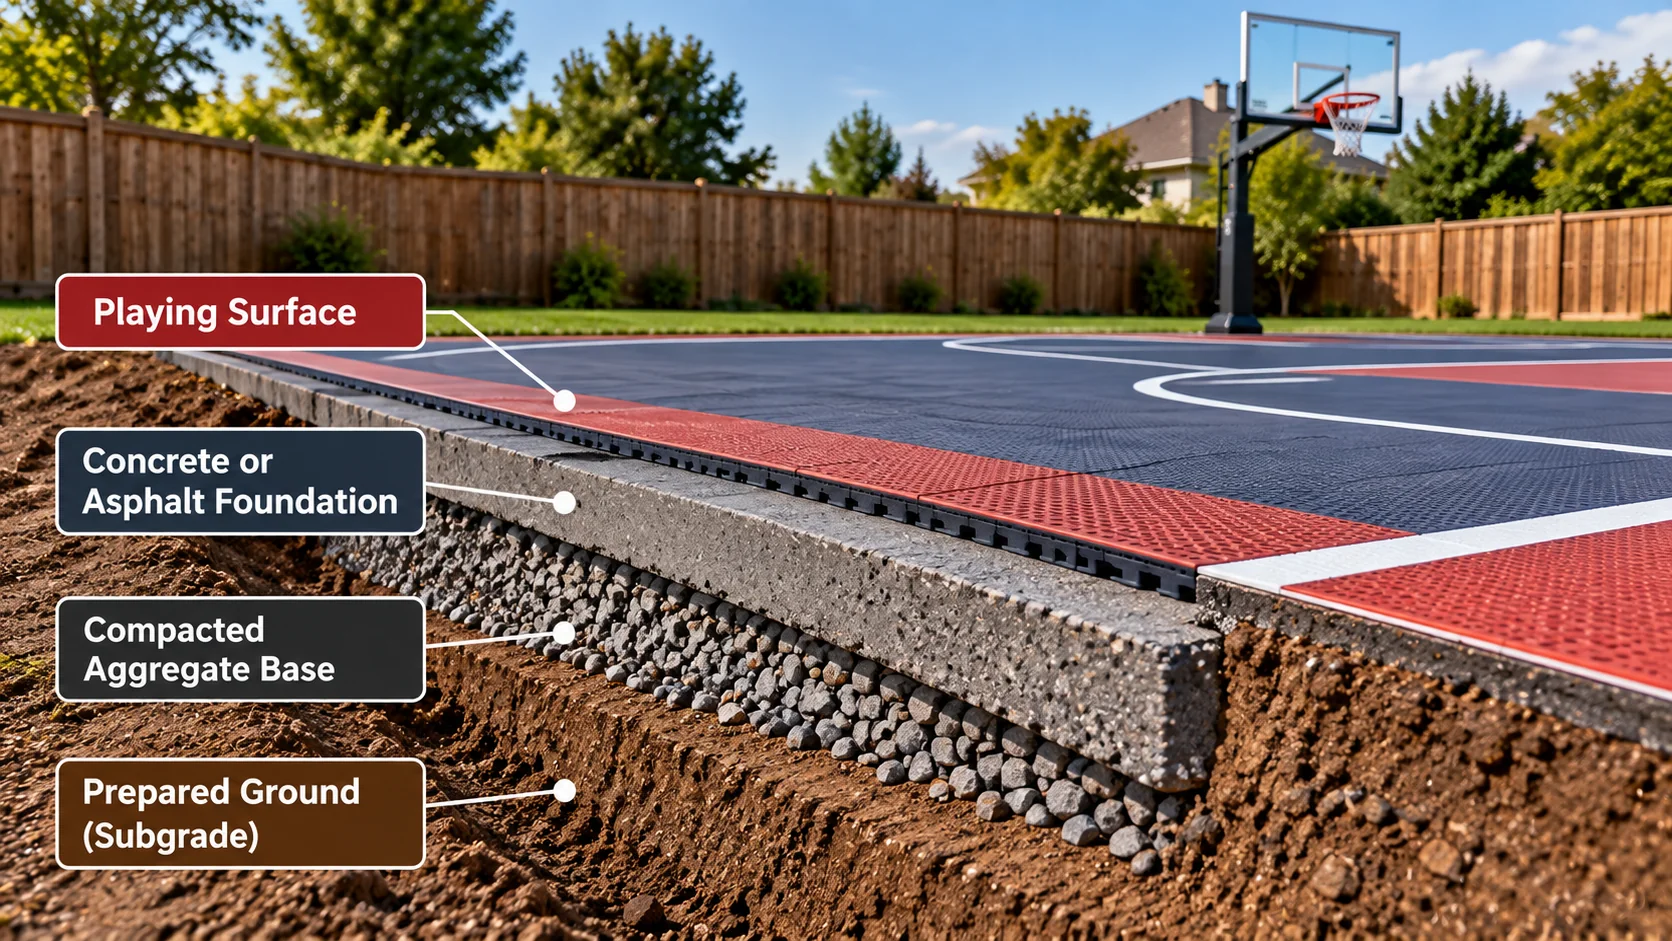
Concrete provides a firm foundation for outdoor basketball courts.
According to HomeGuide, a standard installed concrete slab costs approximately $6–$12 per square foot.
For a 30 × 30-foot area:
- 900 sq ft × $6 = $5,400
- 900 sq ft × $12 = $10,800
That gives a calculated slab budget of $5,400–$10,800.
Court coatings, hoops, markings, and substantial groundwork may cost extra. The slab must also be specified for the actual site and intended court system.
Asphalt
Asphalt is another common outdoor foundation.
General asphalt paving prices are approximately $5–$12+ per square foot installed, based on HomeGuide’s asphalt driveway pricing.
A basketball court may need additional groundwork, sports coating, and markings.
Asphalt can be cheaper initially in some projects, but installed asphalt and concrete prices overlap. Compare complete construction quotes rather than assuming one will always cost less.
Acrylic Coatings
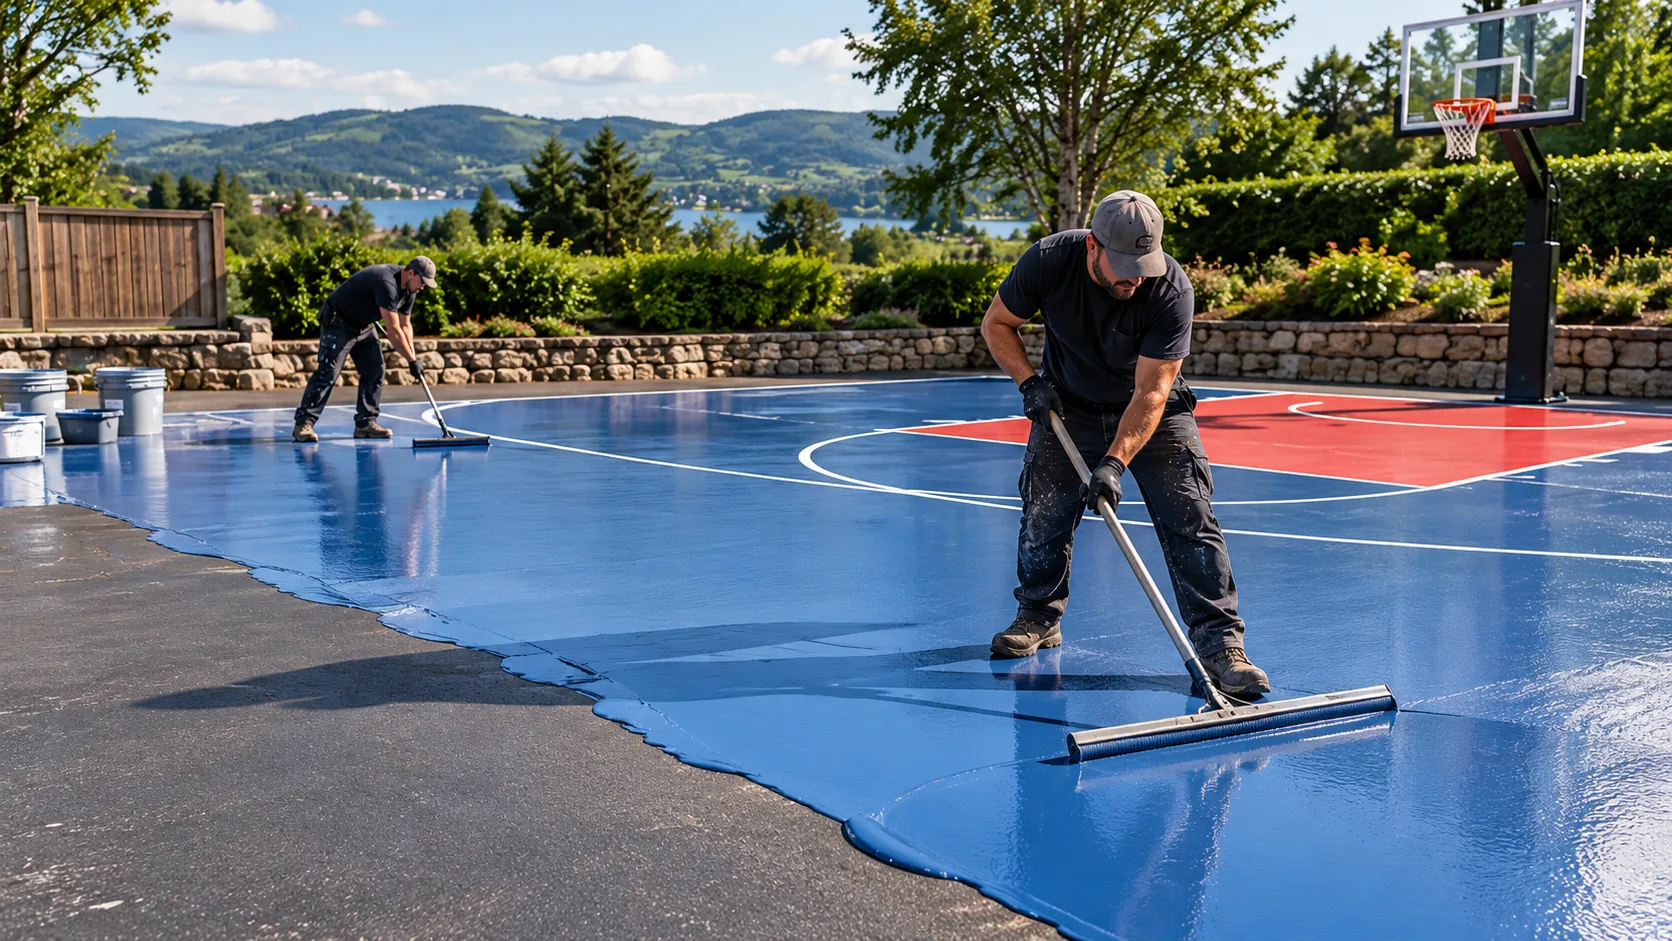
Acrylic sports coatings add color, traction, and a finished appearance to properly prepared concrete or asphalt.
Resurfacing an existing court may cost approximately $3–$6 per square foot, depending on its condition and the coating system.
Acrylic is a finish, not a replacement for a stable foundation. Structural cracking or poor drainage can require separate repairs.
Modular Basketball Court Tiles
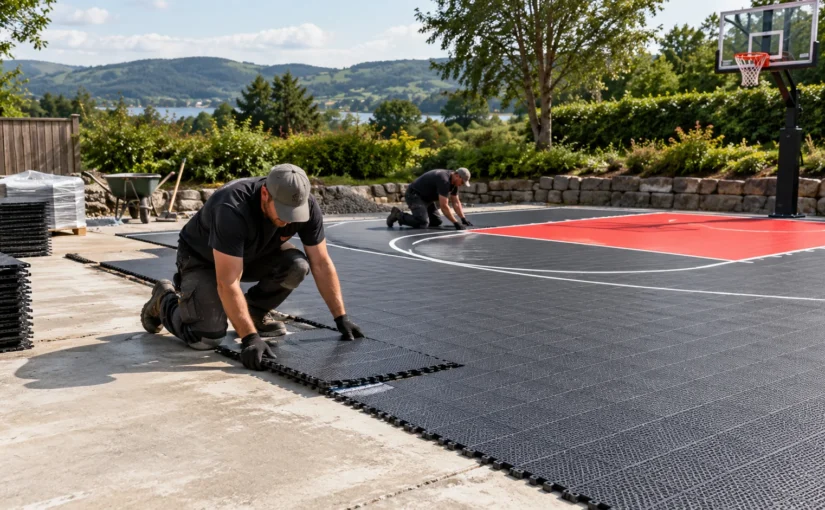
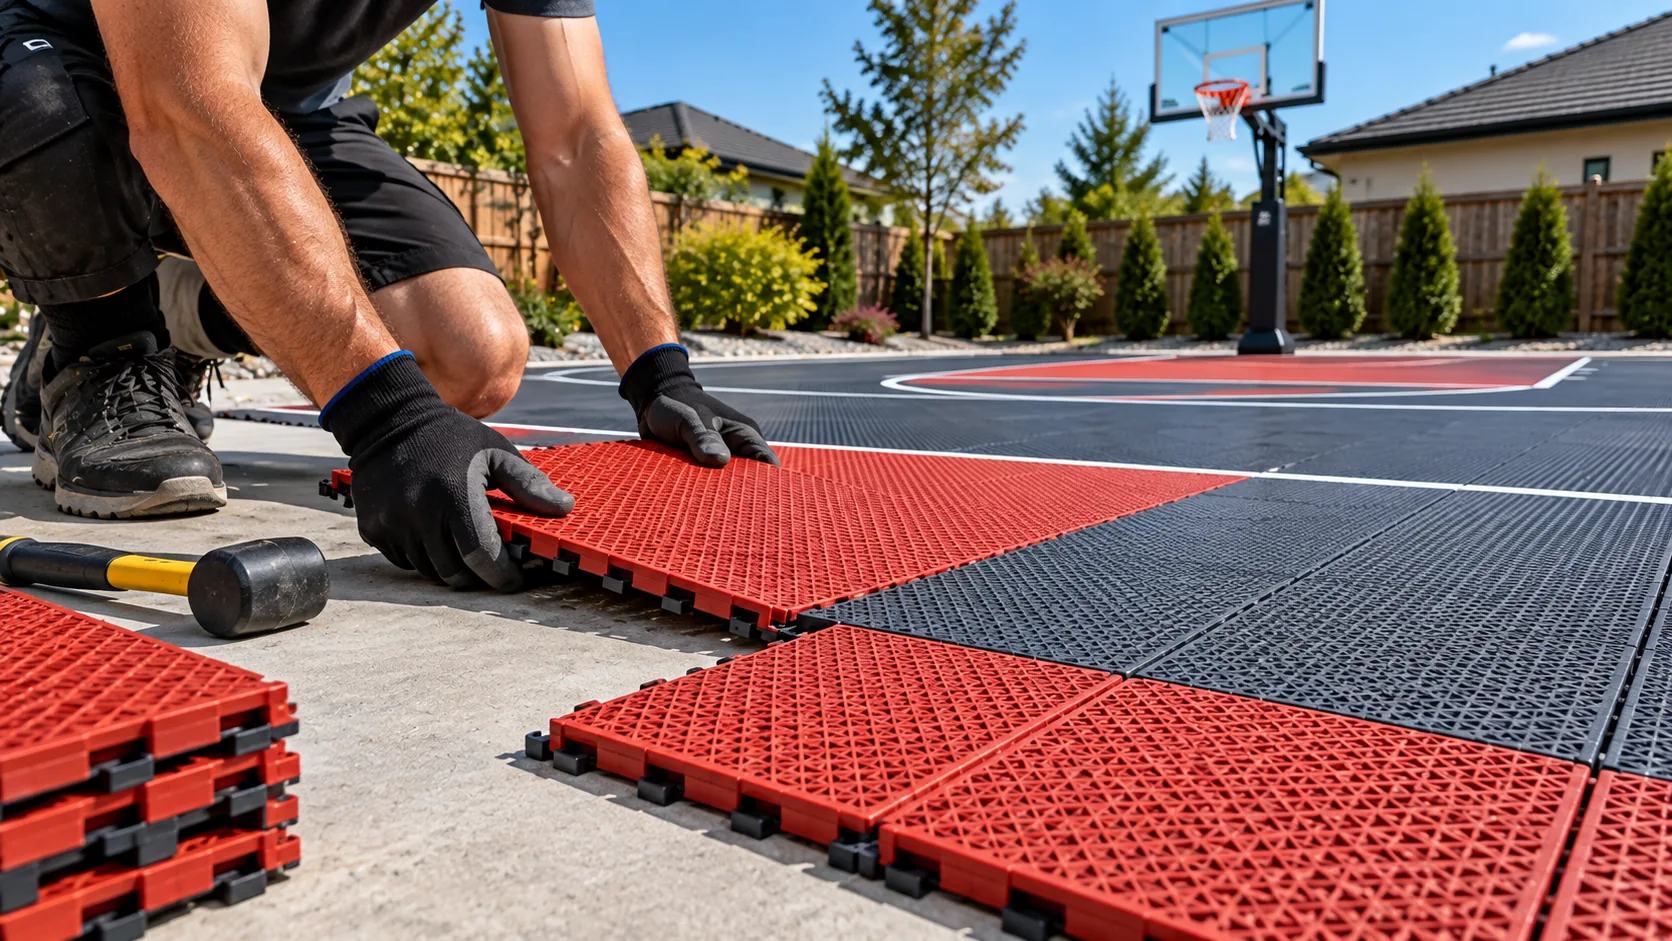
Interlocking sports tiles provide a finished playing surface and can be installed over a suitable existing hard base.
Examples from ModuTile include:
| Basketball tile kit |
Listed retail price |
| 20 × 24 ft |
$1,843 |
| 30 × 30 ft |
Approximately $2,931 |
| 50 × 30 ft |
$4,784 |
Retail prices checked in October 2026. Kit options, shipping, taxes, base preparation, and basketball equipment may change the amount paid.
The cited 20 × 24-foot and 50 × 30-foot kits include painted lines, although edging and other options vary by product.
These are flooring-kit prices, not completed-court prices.
ModuTile also advises against installing its rigid outdoor tiles directly over grass or other soft ground.
Indoor Hardwood
Hardwood sports flooring is a popular choice for serious indoor basketball.
Junckers estimates $12–$26 per square foot installed for a specialist hardwood system.
That includes the subfloor, hardwood surface, markings, finishing, and installation labor.
It does not include constructing the building.
Other indoor materials, including suitable rubber or synthetic sports flooring, may have different prices and playing characteristics.
Basketball Court Cost Breakdown
A complete construction quote should account for more than the court surface.
| Expense |
What to check |
| Site preparation |
Clearing, excavation, grading, and soil removal |
| Foundation |
Concrete or asphalt, reinforcement, and compacted base |
| Drainage |
Surface slope, drains, and water discharge |
| Playing surface |
Coatings, tiles, or another sports-floor system |
| Basketball equipment |
Hoop, backboard, footing, padding, and installation |
| Court markings |
Boundary lines, key, free-throw line, and three-point line |
| Optional features |
Fencing, lighting, landscaping, and seating |
Additional expenses Permits, delivery, inspections, taxes, and cleanup
Basketball Hoops and Equipment
HomeGuide lists basketball hoops at approximately $150–$2,000 installed, depending on the type.
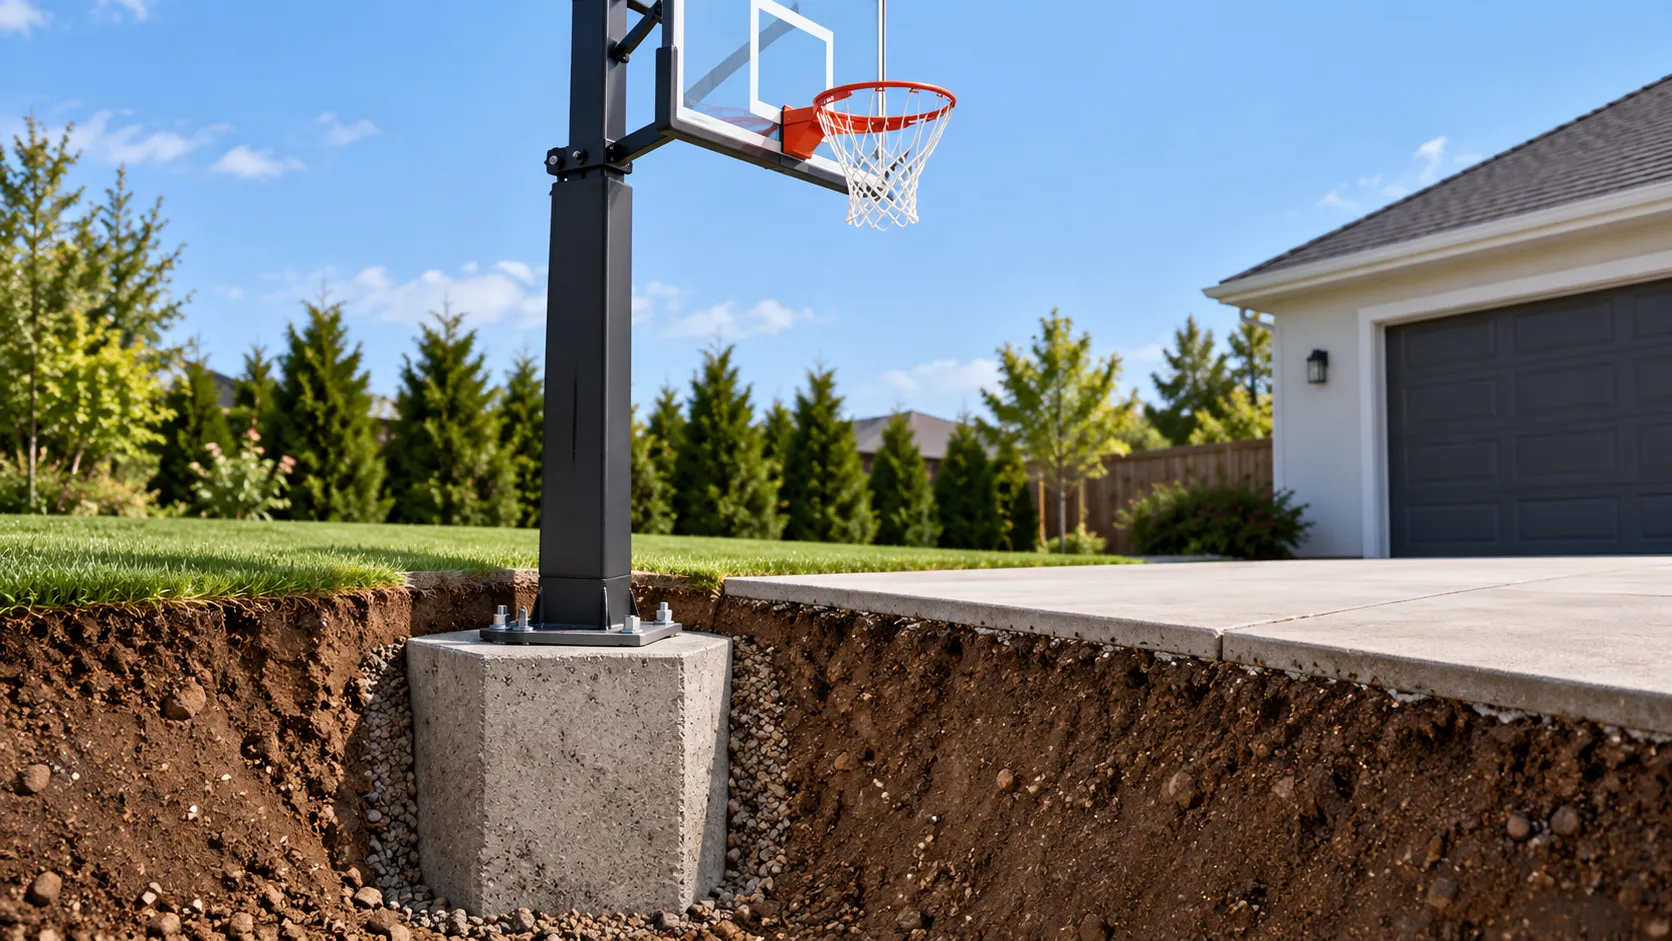
Permanent in-ground systems may require a separate concrete footing and professional installation.
Adjustable hoops, stronger backboards, and protective padding can increase costs.
Our basketball hoop height guide explains regulation height and adjustments for younger players.
Fencing and Lighting
Fencing can help prevent basketballs from leaving the playing area, while lighting makes evening practice possible.
Costs depend on the number of lights, electrical work, fence height, and total perimeter.
Rather than relying on one generic figure, ask contractors for separately priced options.
Permits and Extra Costs
Local planning or building rules may apply to permanent paving, grading, fencing, lighting, and electrical work.
Before agreeing to a price, check whether permits, delivery, drainage, site cleanup, and landscaping are included.
Do not add the cost of a new slab to a turnkey quote that already includes the foundation. Doing so would count the same expense twice.
Indoor vs. Outdoor Basketball Court Costs
Building a new indoor basketball facility is generally more expensive than constructing a comparable outdoor court because it also requires an enclosed structure.
However, using an existing building changes the calculation.
Outdoor Basketball Courts
Outdoor construction usually includes ground preparation, a foundation, the playing surface, markings, and basketball equipment.
For a full outdoor court, Barton’s regional estimate is $35,000–$75,000+ for standard construction.
Ongoing expenses can include cleaning, crack repairs, and resurfacing.
Indoor Basketball Courts
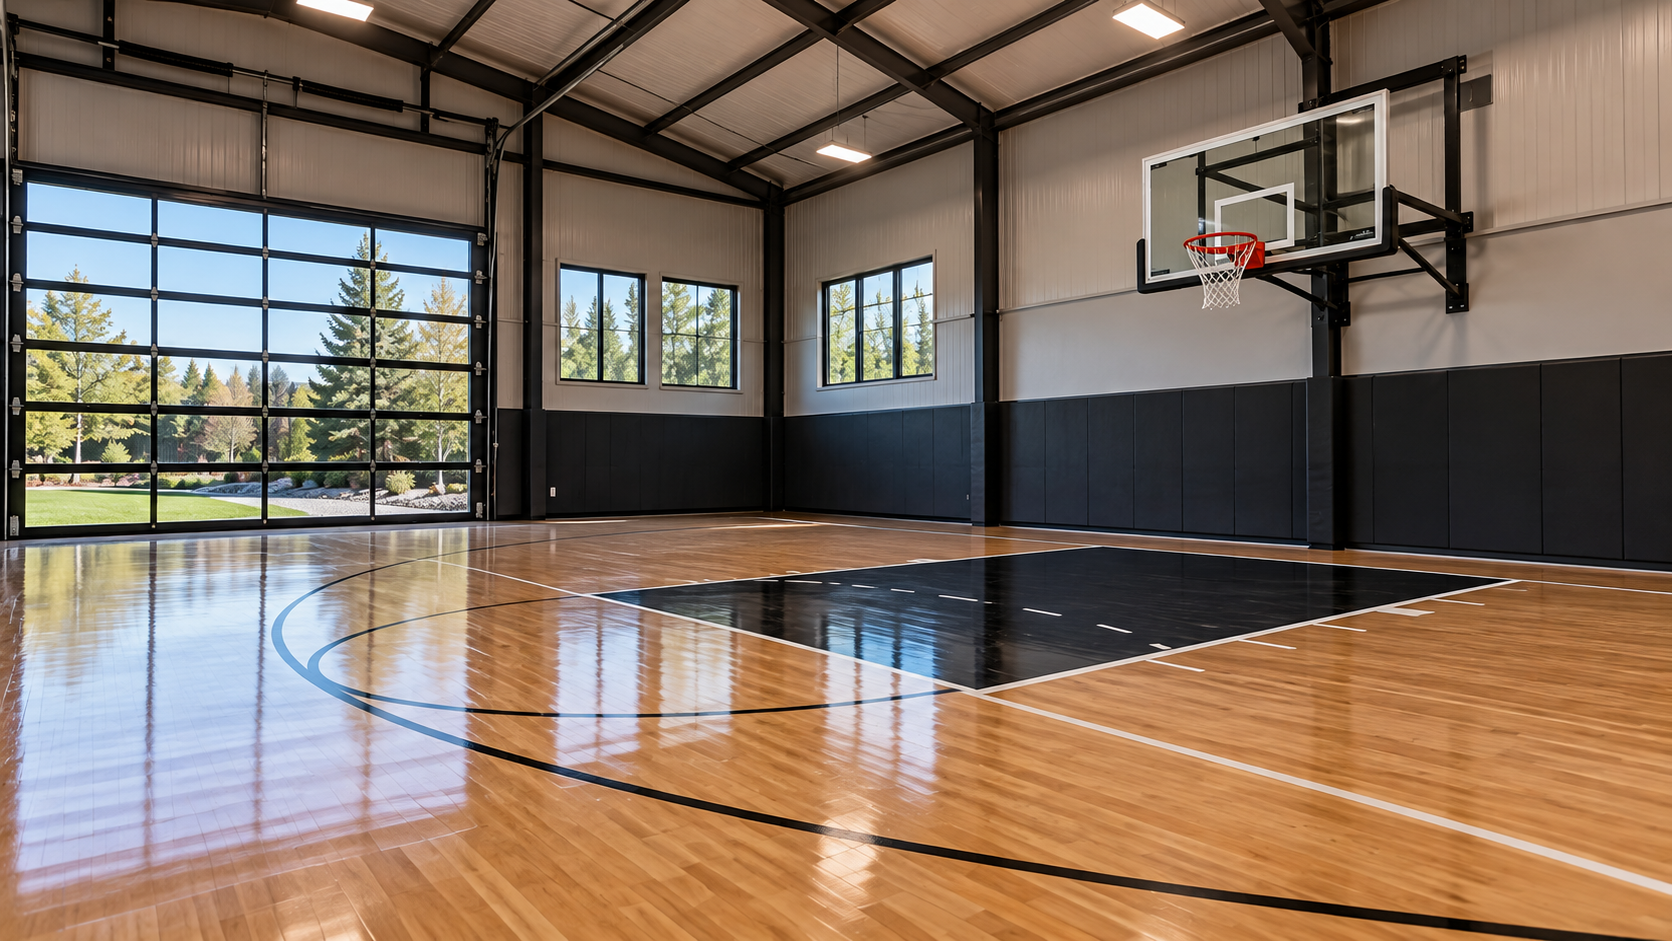
If you already have a suitable garage or barn, HomeGuide estimates $4–$16 per square foot for a basic conversion involving flooring, hoops, and lines.
For a specialist hardwood floor, Junckers gives $10,000–$45,000 for small residential or training half courts in existing buildings.
Neither figure necessarily covers structural changes, ventilation, lighting upgrades, or other building improvements.
Building an entirely new enclosed space is more expensive. HomeGuide provides a broad $90–$210 per square foot planning range for a new residential addition.
That is a building-cost benchmark, not a basketball-flooring price. A complete indoor facility may need considerably more space than the marked court for safe clearances and access.
DIY vs. Professional Basketball Court Installation
Doing some work yourself can reduce labor costs, especially when you already have a suitable playing surface.
For example, installing compatible modular tiles or painting simple markings may be realistic DIY projects.
For a step-by-step walkthrough, see our DIY basketball court guide to learn how to prepare the ground, choose a surface, and install a hoop.
However, excavation, ground leveling, drainage, concrete construction, permanent hoop footings, and electrical installation involve greater risks.
Poor foundation work can cause cracking, uneven playing conditions, or expensive reconstruction.
For a new court, compare professional installation with the full cost of managing separate trades yourself. Include materials, equipment rental, delivery, waste removal, and possible repairs.
DIY savings are most believable when the existing foundation is already in good condition.
How Much Does Basketball Court Maintenance Cost?
Basketball courts need regular upkeep, although costs vary by material and condition.
Routine maintenance includes removing debris, keeping drains clear, checking hoop hardware, and watching for cracks or standing water.
Outdoor acrylic courts may require resurfacing approximately every 4–8 years, according to Barton Sports Construction.
Barton also publishes a $4,000–$9,000 full-court resurfacing estimate for its region, covering crack treatment, fresh acrylic coating, and markings.
This is not an annual maintenance charge. Serious foundation damage may require more expensive repairs.
Modular tiles generally need cleaning and occasional replacement of damaged sections, while indoor hardwood requires suitable cleaning and environmental conditions.
Budget for both everyday upkeep and larger repairs over time.
How to Build a Basketball Court for Less
You can reduce project costs without compromising important construction work.
- Use an existing driveway or slab. Avoiding a new foundation can produce substantial savings if the surface is sound.
- Choose a court size that matches your needs. A compact shooting area may be enough for individual practice.
- Keep the design simple. Custom graphics, elaborate fencing, and premium lighting increase costs.
- Compare itemized quotes. Make sure each contractor includes the same foundation, surface, equipment, and groundwork.
- Consider modular tiles over suitable pavement. A flooring upgrade may be cheaper than constructing a court from bare ground.
- Add optional features later. Fencing, lighting, and other accessories do not always need to be installed immediately.
Never reduce essential spending on drainage, ground stability, safe playing space, or secure hoop installation just to achieve a lower headline price.
Basketball Court Cost FAQs
What Is the Cheapest Way to Build a Basketball Court?
Using an existing suitable driveway with a hoop and basic markings is generally the cheapest practical approach.
Combining HomeGuide’s installed hoop and line-painting ranges gives approximately $200–$2,350, before any pavement repairs.
How Much Land Do You Need for a Basketball Court?
A 30 × 30-foot compact court needs 900 square feet of playing area. A 30 × 50-foot residential half court needs 1,500 square feet.
A full NBA court measures 94 × 50 feet, or 4,700 square feet.
The total site should be larger where necessary to provide safe clearance, drainage, and access.
Does a Basketball Court Add Value to a Home?
A basketball court may appeal to some buyers, but it does not guarantee a higher property value.
Local demand, installation quality, maintenance, and the amount of yard space used all influence whether buyers see it as an advantage.
Build a court primarily for the enjoyment and use you expect from it.
Do You Need a Permit for a Backyard Basketball Court?
Possibly. Requirements vary by location and can depend on paving, drainage, fencing, lighting, and changes in ground level.
Check local rules and any homeowners association restrictions before construction.
How Long Does It Take to Build a Basketball Court?
A complete outdoor project may take several weeks because of site preparation, permitting, foundation work, curing, and weather delays.
Installing tiles over an existing prepared surface can be much quicker.
Is Concrete or Asphalt Cheaper for a Basketball Court?
Asphalt can have a lower initial cost, but typical installed price ranges overlap with concrete.
Compare quotes using the same dimensions, site preparation, foundation specifications, finishes, and equipment. The cheapest material price does not always produce the cheapest completed court.
Final Thoughts
The cost of building a basketball court depends on its size, location, foundation, and playing surface.
A simple driveway setup can cost a few hundred dollars, while a compact backyard court built from bare ground may require a five-figure budget. A full outdoor court can cost tens of thousands of dollars or more.
Before starting, decide how much playing space you actually need and whether you can reuse an existing suitable surface.
Then request detailed local quotes that clearly separate construction work, materials, basketball equipment, and optional extras. That will give you a more reliable budget than a single average price.