Installing a basketball hoop depends on the type you choose. A portable basketball hoop usually needs assembly and a weighted base, while an in-ground basketball hoop requires digging, concrete and a secure foundation.
You can install some basketball hoops yourself, but larger systems may need several helpers or a professional installer.
This guide explains the basketball hoop installation process, the tools you need, typical installation costs and common mistakes to avoid.
If you’re planning a complete backyard setup, our basketball court installation guide explains the wider process, costs, and hiring options.
Types of Basketball Hoop Installation
Different basketball hoops require different installation methods.
| Hoop Type | Installation Method | DIY Difficulty |
|---|---|---|
| In-ground | Concrete foundation with a pole or anchor system | High |
| Wall-mounted | Brackets secured to a suitable structure | High |
| Roof-mounted | Structural mounting and weatherproofing | High |
| Portable | Assembly and filling the base with ballast | Low to moderate |
| Over-the-door | Assembly and fitting brackets over a door | Low |
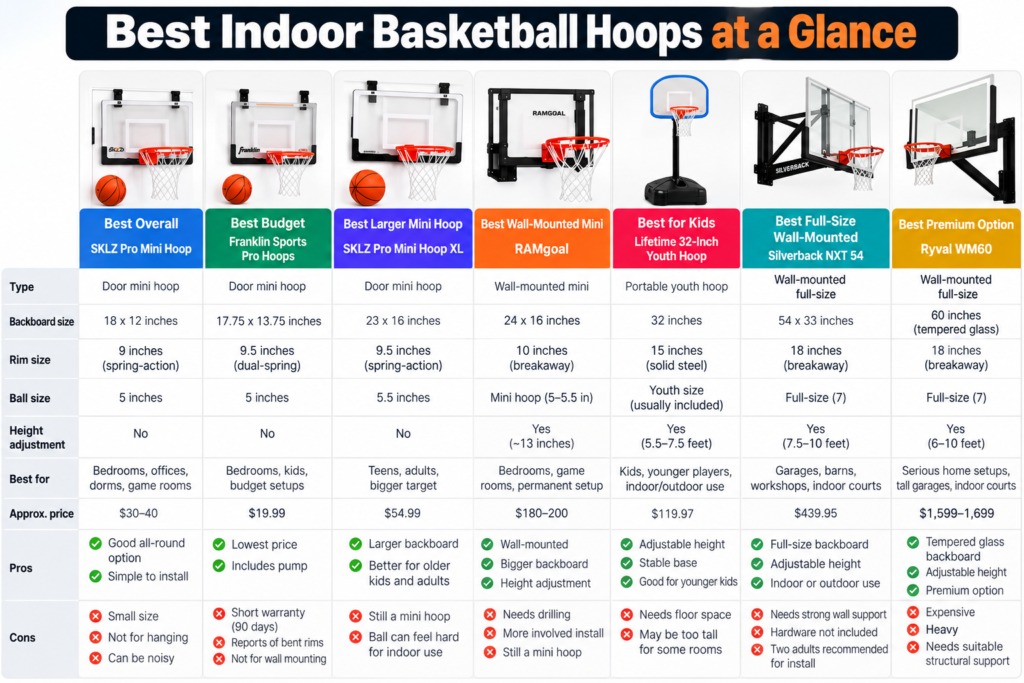
Before installing a basketball hoop, you need to choose the right model. Our guide to the best basketball hoops compares portable, in-ground, and wall-mounted options for different budgets.
In-Ground Basketball Hoops
An in-ground basketball hoop uses a concrete foundation to support its main pole.
Some systems use anchor bolts, allowing the hoop to be removed from the foundation later. Others use a buried pole or ground sleeve.
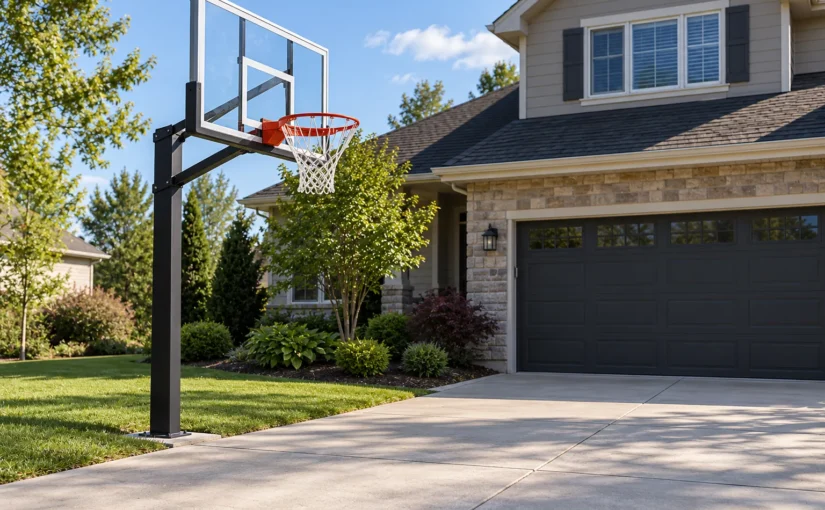
In-ground basketball hoops are popular for driveways and backyard basketball courts because they provide a permanent playing setup. To compare models, see our guide to the best in-ground basketball hoops.
Wall-Mounted and Roof-Mounted Hoops
Wall-mounted basketball hoops attach to a suitable building structure using a mounting system.
Roof-mounted hoops use a frame designed for attachment to a compatible roof structure.
Both require careful planning. The wall or roof must support the weight of the basketball goal and the forces created during play.
Professional structural assessment may be necessary, and some manufacturers require it.
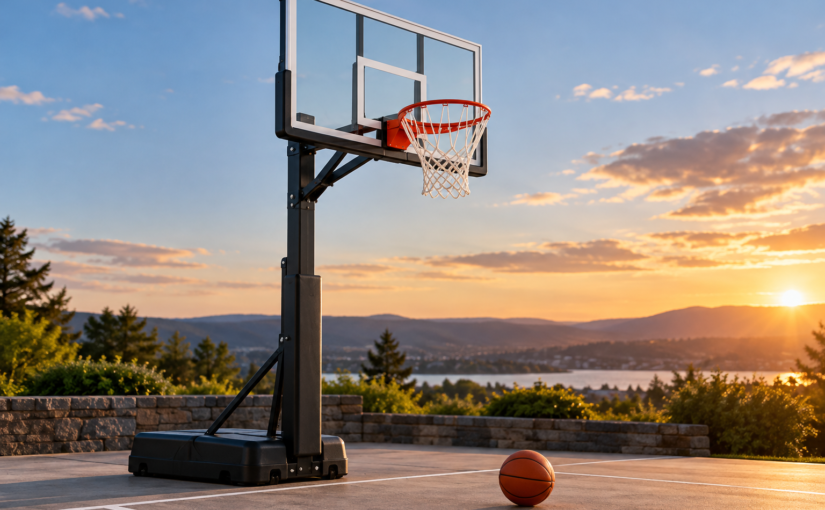
Portable Basketball Hoops
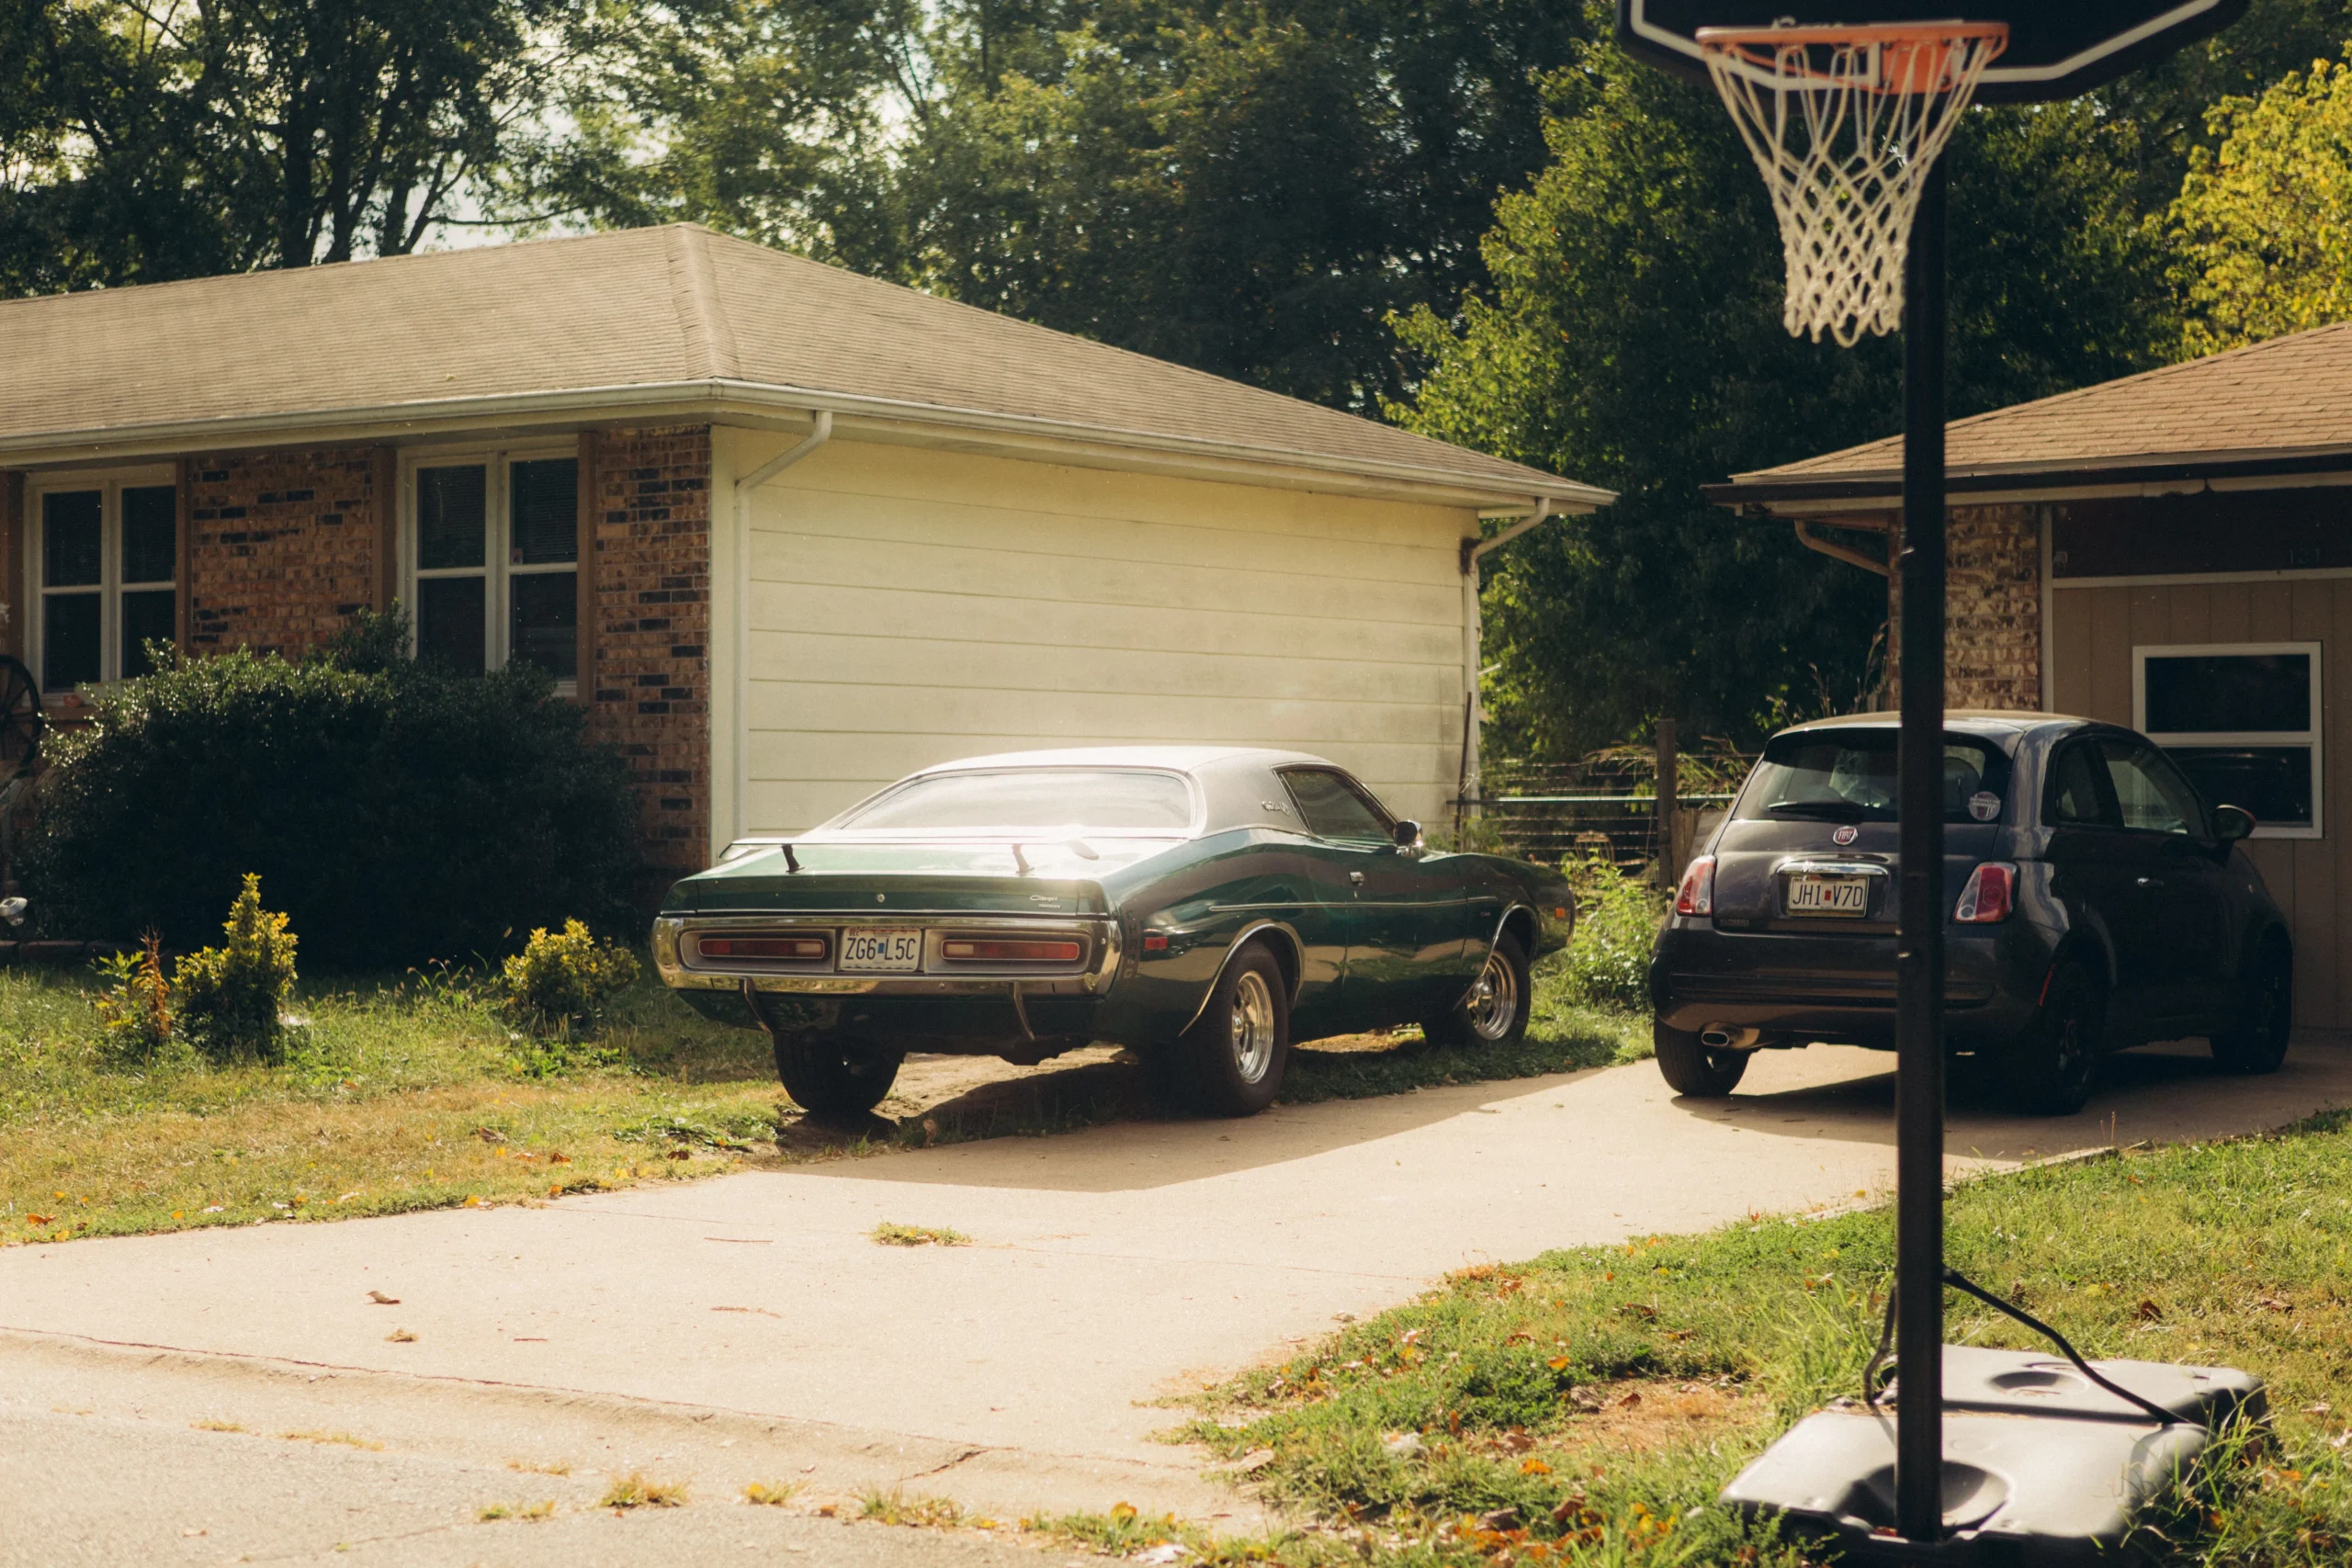
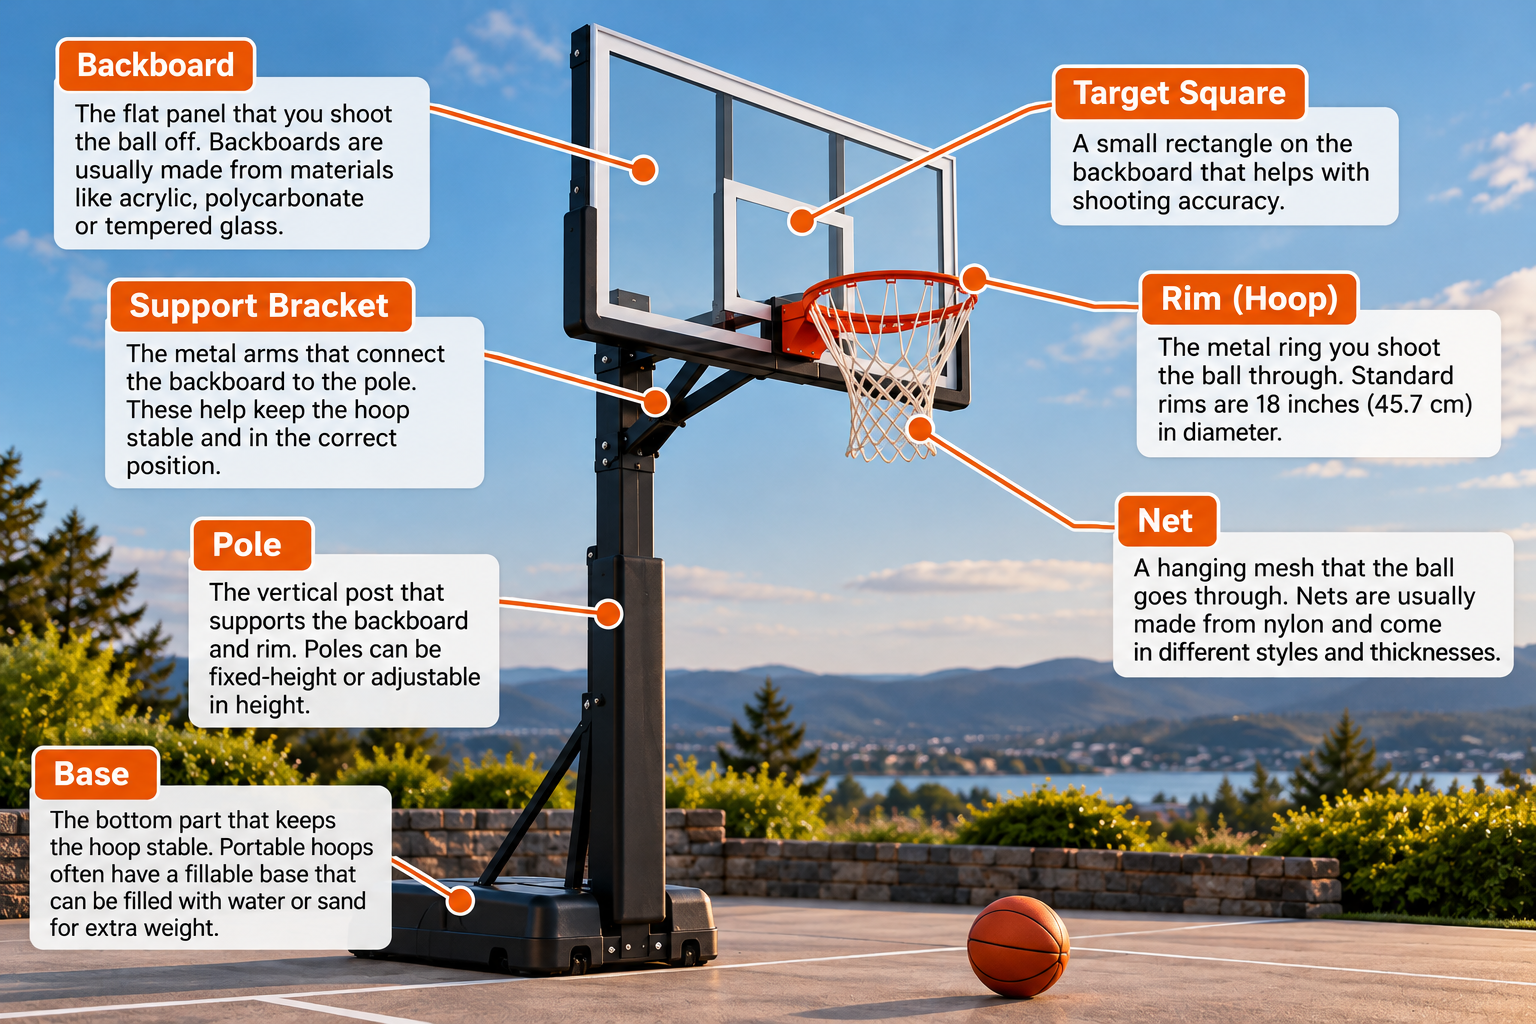
Portable basketball hoops use a base filled with water or sand instead of a concrete foundation.
They are usually easier to assemble and can be moved according to the manufacturer’s instructions.
However, the base must contain the specified ballast before the hoop is used.
What You Need Before Installing a Basketball Hoop
Before starting, read the installation guide for your exact basketball hoop model.
Common tools and materials include:
- Measuring tape and spirit level
- Spanners, sockets and screwdrivers
- Drill and suitable drill bits for approved mounting systems
- Shovel or post-hole digger for an in-ground hoop
- Concrete mix and mixing equipment
- Manufacturer-supplied anchor bolts or mounting hardware
- Protective gloves and eye protection
- Enough helpers to lift heavy components safely
You may not need every item. A portable basketball goal has different requirements from an in-ground system.
Choose the installation location carefully. Check the available playing area, nearby vehicles, overhead cables and the distance between the main pole and backboard. If you’re installing a hoop near your driveway, our driveway basketball hoop guide explains how to plan the space and choose a suitable setup.
Before digging, arrange for underground utilities to be identified. Buried cables, gas pipes and water services can make excavation dangerous.
In the United States, contact the appropriate utility-location service, commonly through 811. In the United Kingdom, follow local utility-location procedures and relevant safe-dig guidance.
Also check whether your installation requires permission from a local authority, landlord or property association.
How to Install an In-Ground Basketball Hoop
The following steps explain the general installation process.
Always follow the manufacturer’s instructions for your exact model. Foundation dimensions, concrete requirements and assembly procedures vary between basketball goals.
Step 1: Choose the Location and Dig the Hole
Start by deciding where the basketball hoop should stand.
Measure the playing surface and check how far the backboard and rim will extend from the main pole.
This distance, called overhang, affects the available playing space.
After confirming that the excavation area is safe, mark the foundation location.
Dig the hole to the depth, width and shape specified in the installation manual.
For example, some Goalrilla anchor systems require a foundation approximately 48 inches deep. However, this measurement does not apply to every basketball hoop.
Ground conditions, frost depth and the exact anchor system can change the requirements.
Do not reduce the hole size simply because digging becomes difficult.
Step 2: Prepare the Foundation and Pour Concrete
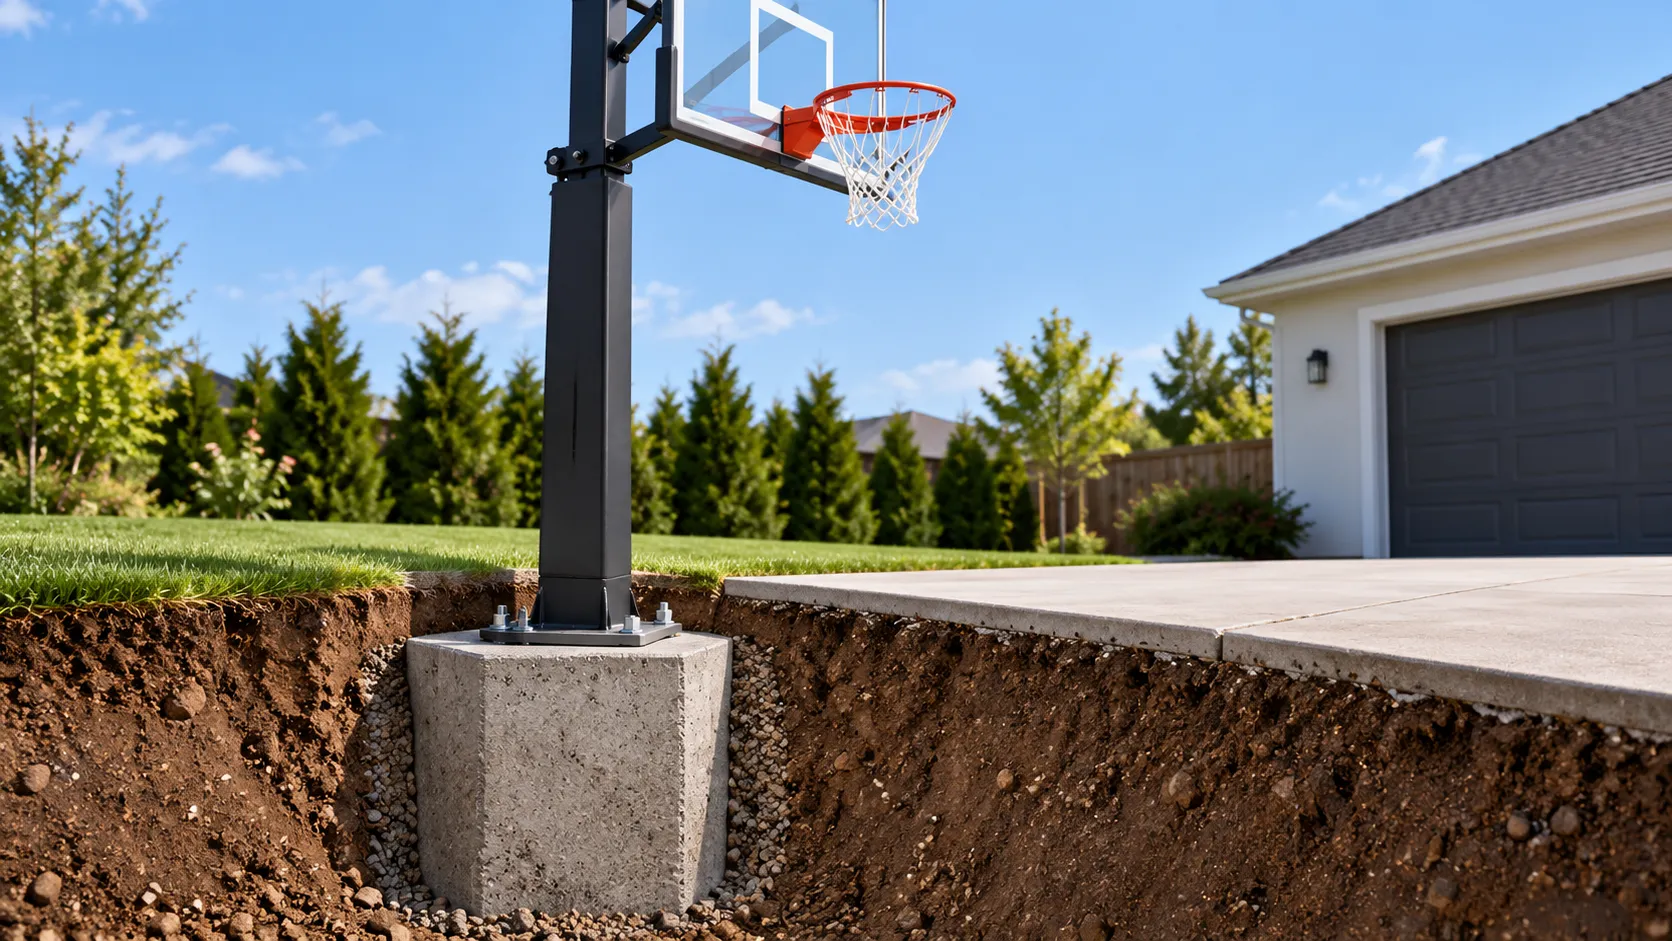
Prepare the anchor system, reinforcement or ground sleeve according to the instructions.
Some basketball hoops use anchor bolts embedded in concrete. Others require a pole or sleeve to be positioned during the pour.
Use the specified concrete mix and follow its mixing instructions.
Add the correct amount of water. Too much or too little can affect the concrete’s performance.
Place the concrete as directed, making sure the foundation components remain correctly positioned.
Check the alignment before the concrete begins setting.
An incorrectly positioned anchor can leave the backboard facing the wrong direction.
For a practical example, see Goalrilla’s official basketball hoop installation guide, which explains the foundation and assembly process for its systems.
Step 3: Let the Concrete Cure
Concrete needs time to develop sufficient strength before supporting the basketball hoop.
The required waiting period depends on the manufacturer, concrete and conditions.
For example:
- Goalrilla specifies at least 72 hours for its described anchor installation and recommends erecting the system on Day 5.
- Mega Slam UK specifies a minimum of 72 hours before assembling its basketball hoop system.
- Some Goalsetter installation instructions describe a 48-hour wait before the next assembly stage.
These are examples, not universal curing times.
Cold weather can slow curing and require additional precautions.
Never assume the foundation is ready just because the surface looks dry. Follow the applicable installation instructions before loading it.
Step 4: Install the Main Pole, Backboard and Rim
Once the foundation is ready, begin assembling the basketball hoop.
The order depends on the system.
Some basketball goals require the pole to be secured before the backboard is attached. Others use a hinged anchor that allows part of the hoop to be assembled before raising it.
Follow the manufacturer’s assembly sequence.
Use the supplied fasteners, spacers and brackets. Do not substitute incompatible bolts or modify the anchor plate.
If you’re replacing a damaged backboard rather than installing a complete hoop, see our basketball backboard replacement guide for compatibility checks and replacement steps.
Large basketball backboards can be extremely heavy.
Arrange the required number of capable helpers and use suitable lifting equipment where specified.
Never stand underneath an unsupported backboard during installation.
Step 5: Check the Height, Alignment and Stability
After assembling the hoop, check that the main pole is vertical and the backboard is correctly aligned.
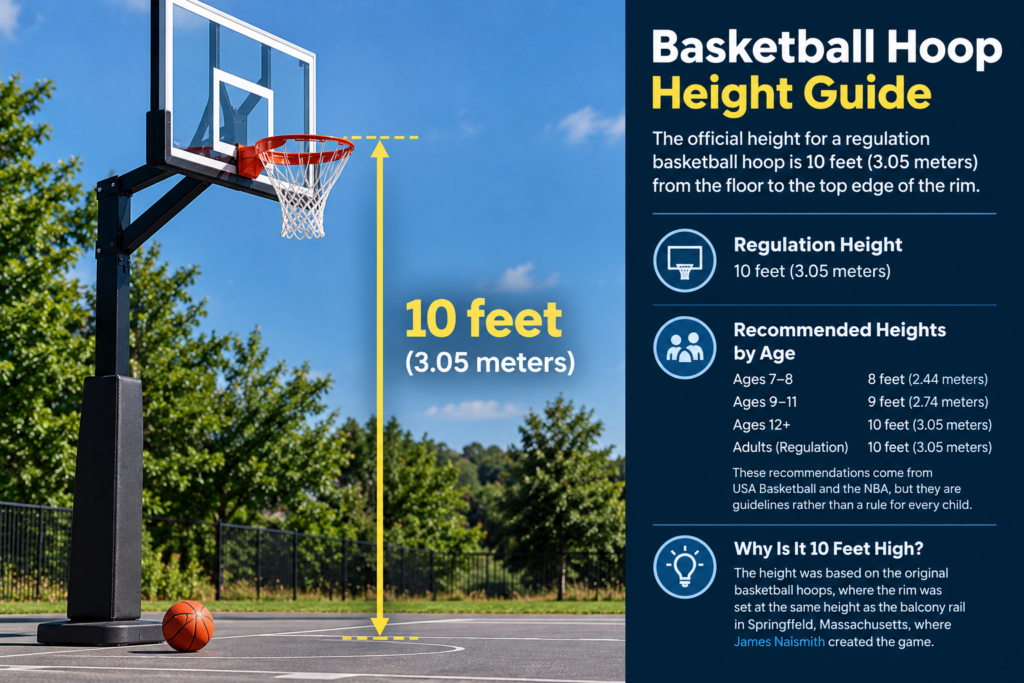
Measure the basketball rim height from the playing surface to the top of the rim.
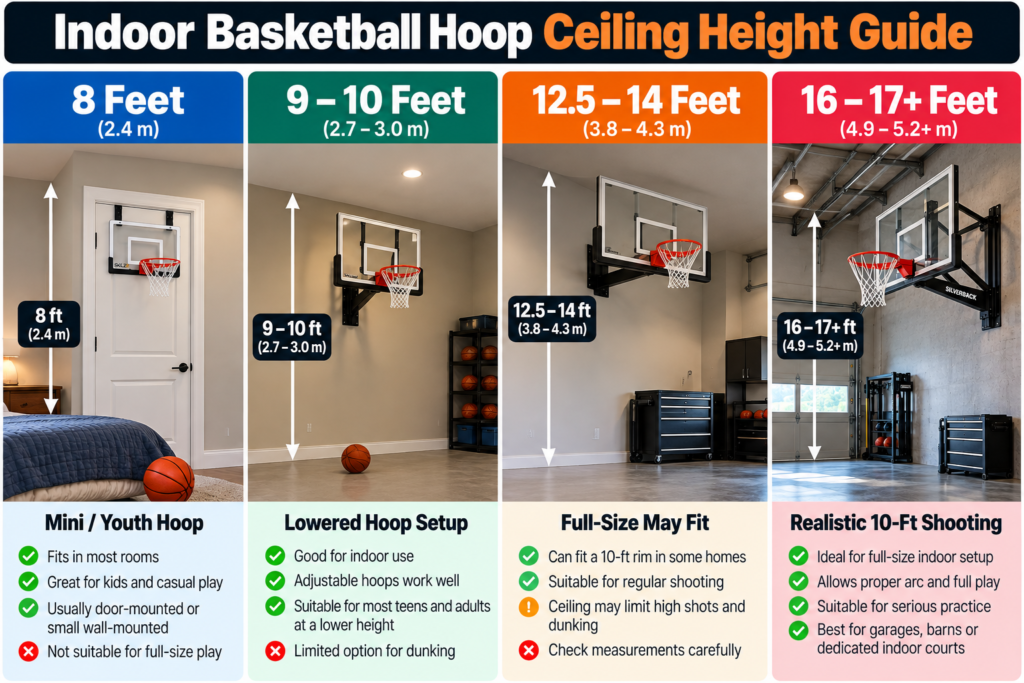
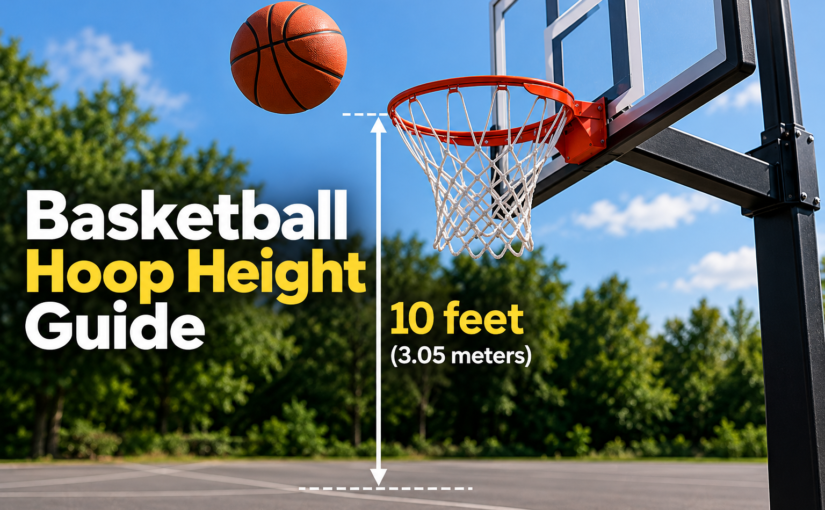
A regulation-height basketball hoop has its rim approximately 10 feet (3.05 metres) above the court.
For an adjustable basketball goal, check the height adjustment mechanism and follow its calibration instructions.
Inspect the fasteners, supports and safety components before allowing anyone to play.
Do not test the installation by hanging from the rim. Follow the manufacturer’s restrictions on dunking and hanging.
How to Install Portable and Wall-Mounted Basketball Hoops
Not every basketball hoop requires digging a hole.
Portable basketball hoop installation generally involves assembling the pole, backboard, rim and base.
Follow the manual’s assembly order and fill the base with the specified amount of water or sand at the instructed stage.
Never leave an unballasted basketball goal standing unsupported.
Some portable systems also require additional restraints. Avoid placing improvised heavy objects on top of the base, as this can damage it.
Wall-mounted basketball hoop installation involves checking the structure, positioning the mounting brackets and attaching the backboard and rim.
The mounting surface must be suitable for the equipment. Do not assume ordinary wall plugs or a brick veneer can support a basketball goal.
Roof-mounted hoops require additional structural and weatherproofing work. Professional installation is usually the more sensible choice.
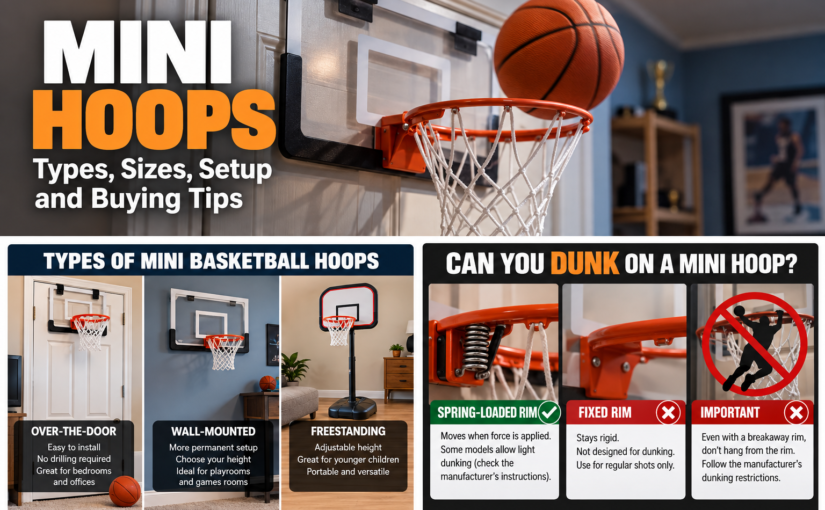
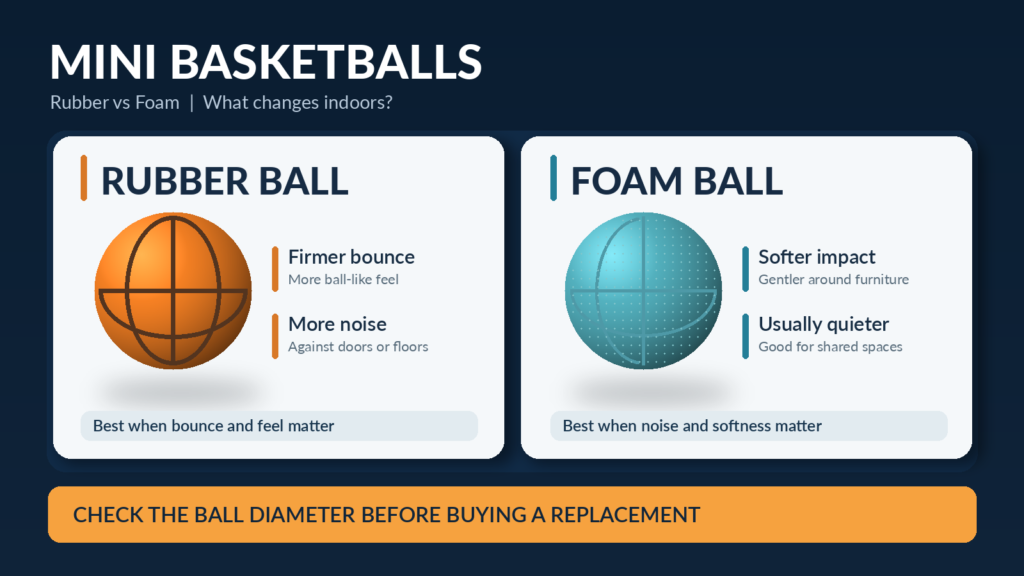
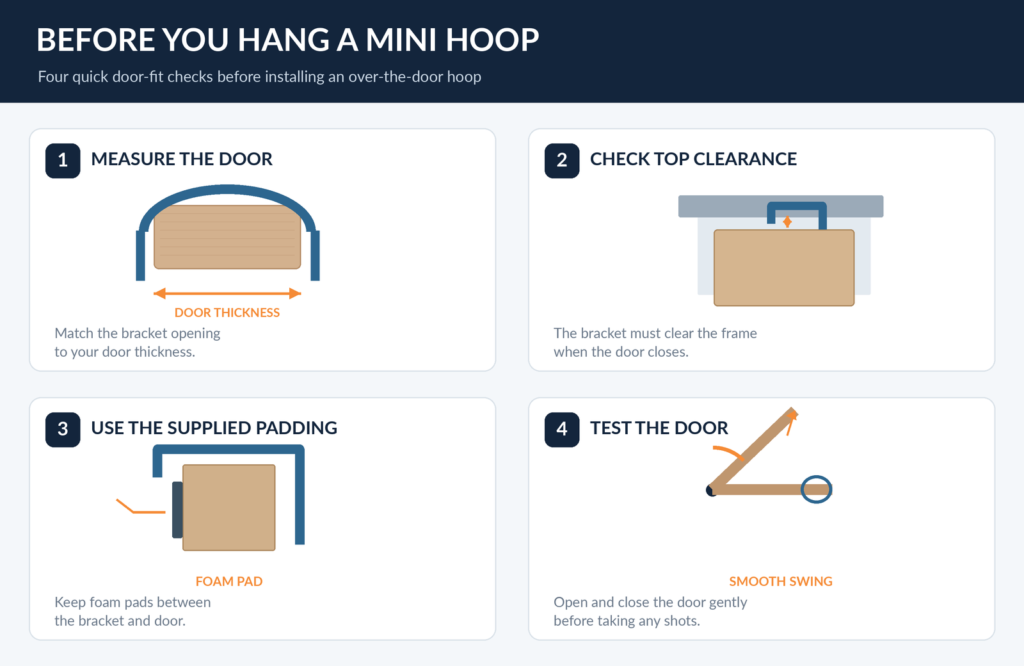
Over-the-door mini hoops are simpler. They normally use padded brackets that fit over a compatible door, without permanent structural fixings.
How Much Does Basketball Hoop Installation Cost?
Basketball hoop installation costs depend on the hoop type, location, ground conditions and whether you hire a professional.
Published manufacturer and service-provider prices offer useful examples, but they are not national averages.
| Installation Service | Example Cost | Notes |
|---|---|---|
| Goalrilla in-ground installation (US) | $400–$600 | General estimate; actual quotes vary by location and installation requirements. |
| Mega Slam installation (UK) | £1,295–£1,495 | Example pricing for its systems; confirm the service scope. |
| Walmart portable hoop assembly (US) | $185 | Example assembly service price, not an in-ground installation. |
These figures come from different services and scopes. The manufacturer ranges are undated guidance observed in October 2026, while service prices may change.
An in-ground installation may include excavation, concrete, anchor installation and a return visit for final assembly.
Other quotes may cover assembly only.
Before hiring a local contractor, ask whether the price includes:
- Concrete and foundation materials
- Excavation and ground preparation
- All installation visits
- Removal of excess dirt and packaging
- Additional equipment or structural work
- Taxes and any extra charges
For DIY installation, the main costs are usually concrete, tools, materials and any equipment you need to hire.
Always compare quotes for the same work rather than choosing the lowest advertised price.
DIY vs Professional Basketball Hoop Installation
Can you install a basketball hoop yourself?
Yes, depending on the system and your experience.
A portable basketball hoop is generally more suitable for DIY assembly. You still need to follow the instructions and manage the weight of its components safely.
An in-ground basketball hoop is more demanding because it involves excavation, concrete and lifting heavy equipment.
Experienced DIYers may be able to complete the work with suitable helpers.
However, hiring a professional installer is worth considering when:
- You have limited experience working with concrete.
- The ground is rocky, unstable or difficult to excavate.
- The backboard or main pole requires specialised lifting.
- The installation involves a building structure.
- You are unsure about the foundation or mounting requirements.
When choosing a basketball hoop installer, ask about experience with your exact model, insurance, previous work and workmanship warranties.
A written quote should explain the full installation process and identify any work excluded from the price.
Common Basketball Hoop Installation Mistakes
Avoid these common problems when installing your basketball goal.
Using the wrong foundation dimensions: A hole suitable for one hoop may not support another. Follow the exact model’s instructions.
Ignoring buried cables: Digging without identifying underground utilities can cause serious injuries and damage.
Adding too much water to concrete: Incorrect mixing can reduce the quality of the foundation.
Installing the hoop before the concrete is ready: Premature loading can compromise the installation.
Positioning the main pole incorrectly: Failing to account for backboard overhang can reduce playing space or create obstacles.
Using unsuitable mounting hardware: Incompatible anchors or brackets can cause structural failure.
Forgetting portable-base ballast: An empty or incorrectly filled base can leave the hoop unstable.
Ignoring manufacturer restrictions: Not every basketball hoop is designed to support dunking or hanging from the rim.
Correct installation is more important than finishing the job quickly.
Frequently Asked Questions
How Long Does Basketball Hoop Installation Take?
Portable basketball hoops may take a few hours to assemble, depending on the model.
In-ground installations take longer because the concrete foundation must cure before final assembly.
Mega Slam UK describes a first installation stage lasting up to four hours, at least 72 hours of curing and approximately two hours for final assembly.
Your actual timeline may differ.
How Much Concrete Do You Need for an In-Ground Basketball Hoop?
The amount depends on the foundation dimensions and concrete product.
Some Goalrilla installations specify eleven 80-pound bags, while other manufacturers use different quantities and foundation designs.
Check your exact installation manual and the concrete mix’s stated yield.
Can You Install a Basketball Hoop on an Existing Driveway?
Yes, a driveway can provide the playing surface, but it does not automatically provide a suitable foundation.
An in-ground hoop may require a separate concrete foundation beside or through the existing driveway.
Do not bolt a heavy basketball goal directly onto an ordinary driveway slab without confirming that the foundation and anchor arrangement are suitable.
Can You Mount a Basketball Hoop on a Garage?
Some basketball hoops are designed for garage walls or roofs.
However, the structure must be capable of supporting the system and the forces produced during play.
Use a compatible mounting system and obtain professional structural advice where required.
Can You Move an Installed Basketball Hoop Later?
Some in-ground basketball hoops use removable bolt-down or hinged-anchor systems.
The hoop may be detached, but the original concrete foundation normally remains in place.
Moving it to another location generally requires a compatible new foundation or anchor arrangement.
Final Thoughts
Basketball hoop installation can be simple or demanding, depending on the equipment.
Portable hoops usually need careful assembly and ballast, while in-ground systems require proper excavation, concrete and anchoring.
Before installing any basketball goal, check the manufacturer’s instructions, plan the location and make sure the finished system will be stable.
If the project involves difficult ground conditions, structural mounting or heavy lifting beyond your experience, consider hiring a professional installer.